
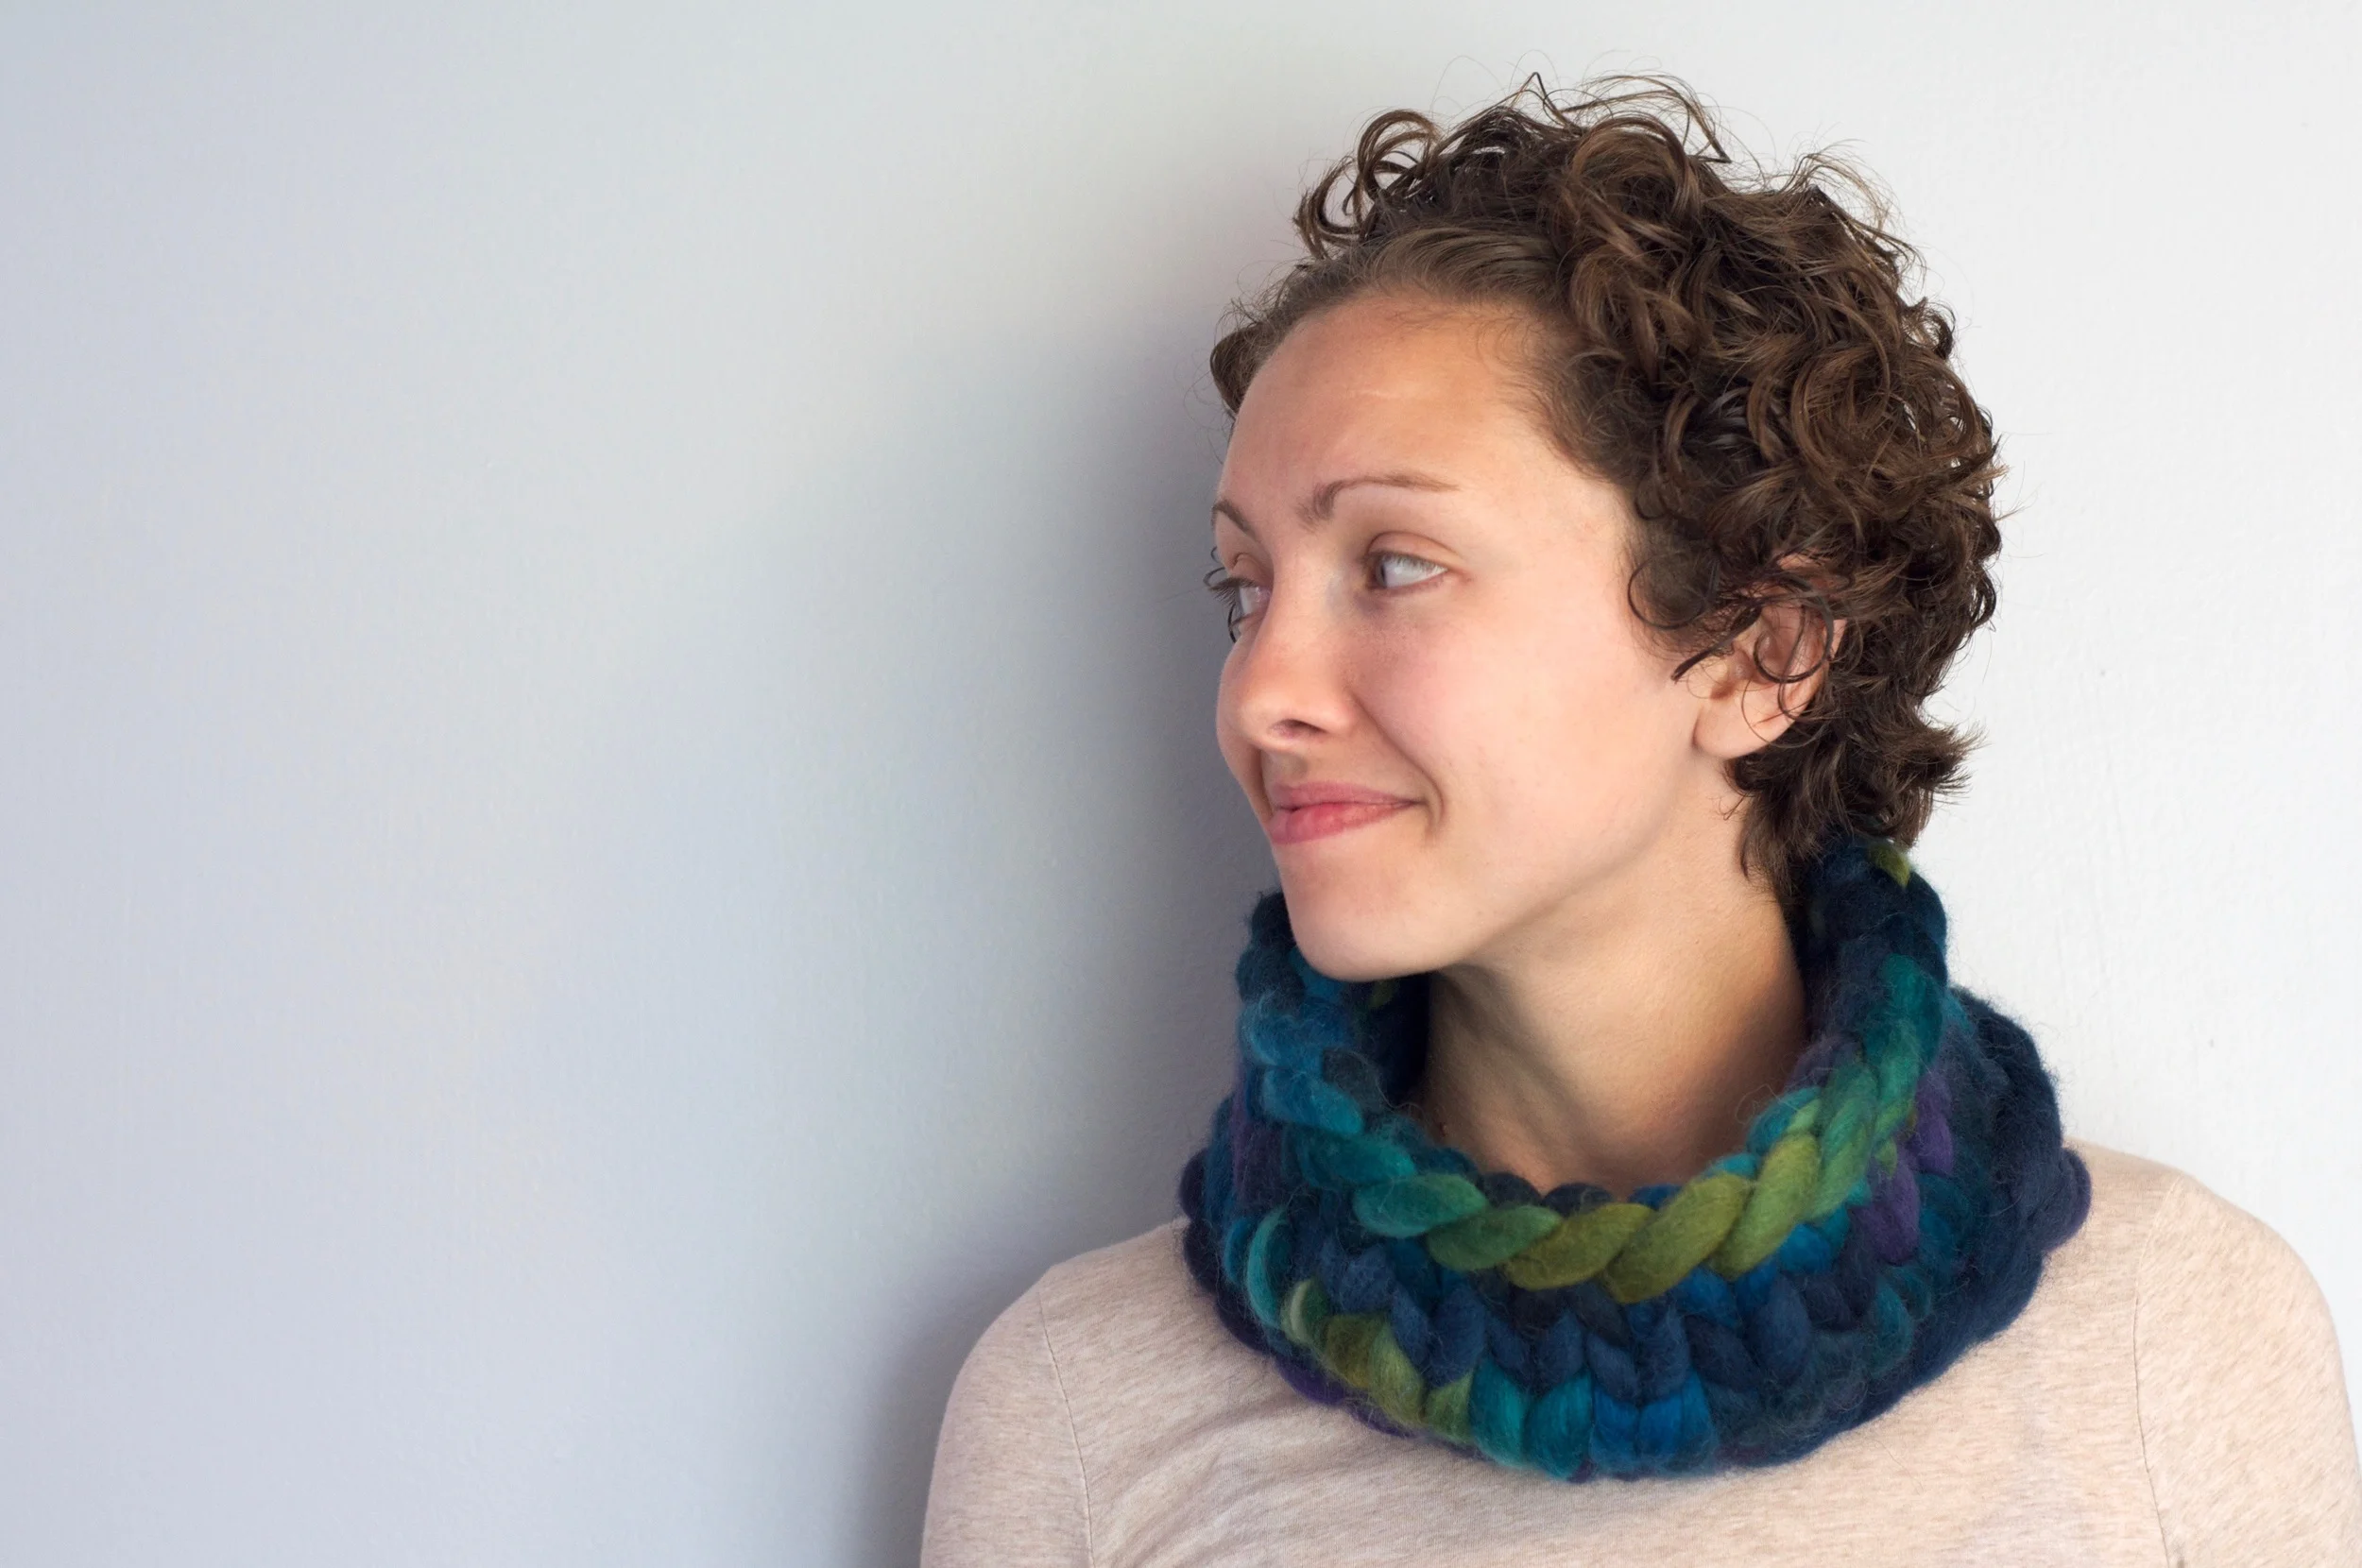
Pelotage Cowl
the pattern and tips for JUMBO knitting

Have you been itching to try GIANT knitting needles, but not sure how to do it? This is a super-duper simple cowl pattern with lots of tips on how to knit on HUGE needles with HUGE yarn. There are instructions for using wool top as a substitute for expensive jumbo yarn. This is a great project to knit when you are short on time and need a last minute gift. It takes less than an hour to knit. Or, just make it for yourself, because it is HUGELY fun.
SIZES :
one size
YARN : (see tip #2)
200 grams (7 oz) of wool top
FINISHED DIMENSIONS :
Circumference: 26 inches
Height: 5 inches
NEEDLES : (see tip #4)
US 50 (25mm) 24-inch (60cm) circular needles or size to obtain the correct gauge
GAUGE : (see tip # 1)
4 stitches & 4 rows = 4 inches in STOCKINETTE stitch
NOTIONS : (see tip #3)
stitch marker
SKILLS :
knitting in the round
LEVEL :
beginner
pattern
PATTERN NOTES :
Before you start knitting, I HIGHLY recommend reading the TIPS section.
Cast On 26 stitches.
Join to knit in the round. Place marker at the beginning of the round.
Knit 2 rows.
Bind Off all stitches. Break wool top, leaving a 6 inch tail.
Weave in ends. TA-DA! You’re finished!
tips
Tip # 1
GAUGE :
4 stitches & 4 rows = 4 inches in stockinette stitch
With HUGE needles and wool top (see the YARN section below), your gauge is never going to be exact. The wool top creates variable stitch sizes. Do not obsess over the gauge. This is not a sweater that needs to fit your figure perfectly; it is a cowl that needs to fit over your head. The irregularity of the stitch size will make your cowl one of a kind. With the gauge, do the best you can. Just keep in mind that if your gauge is significantly different, your finished dimensions will be, too.
Tip #2
YARN :
200 grams (7 oz) of wool top
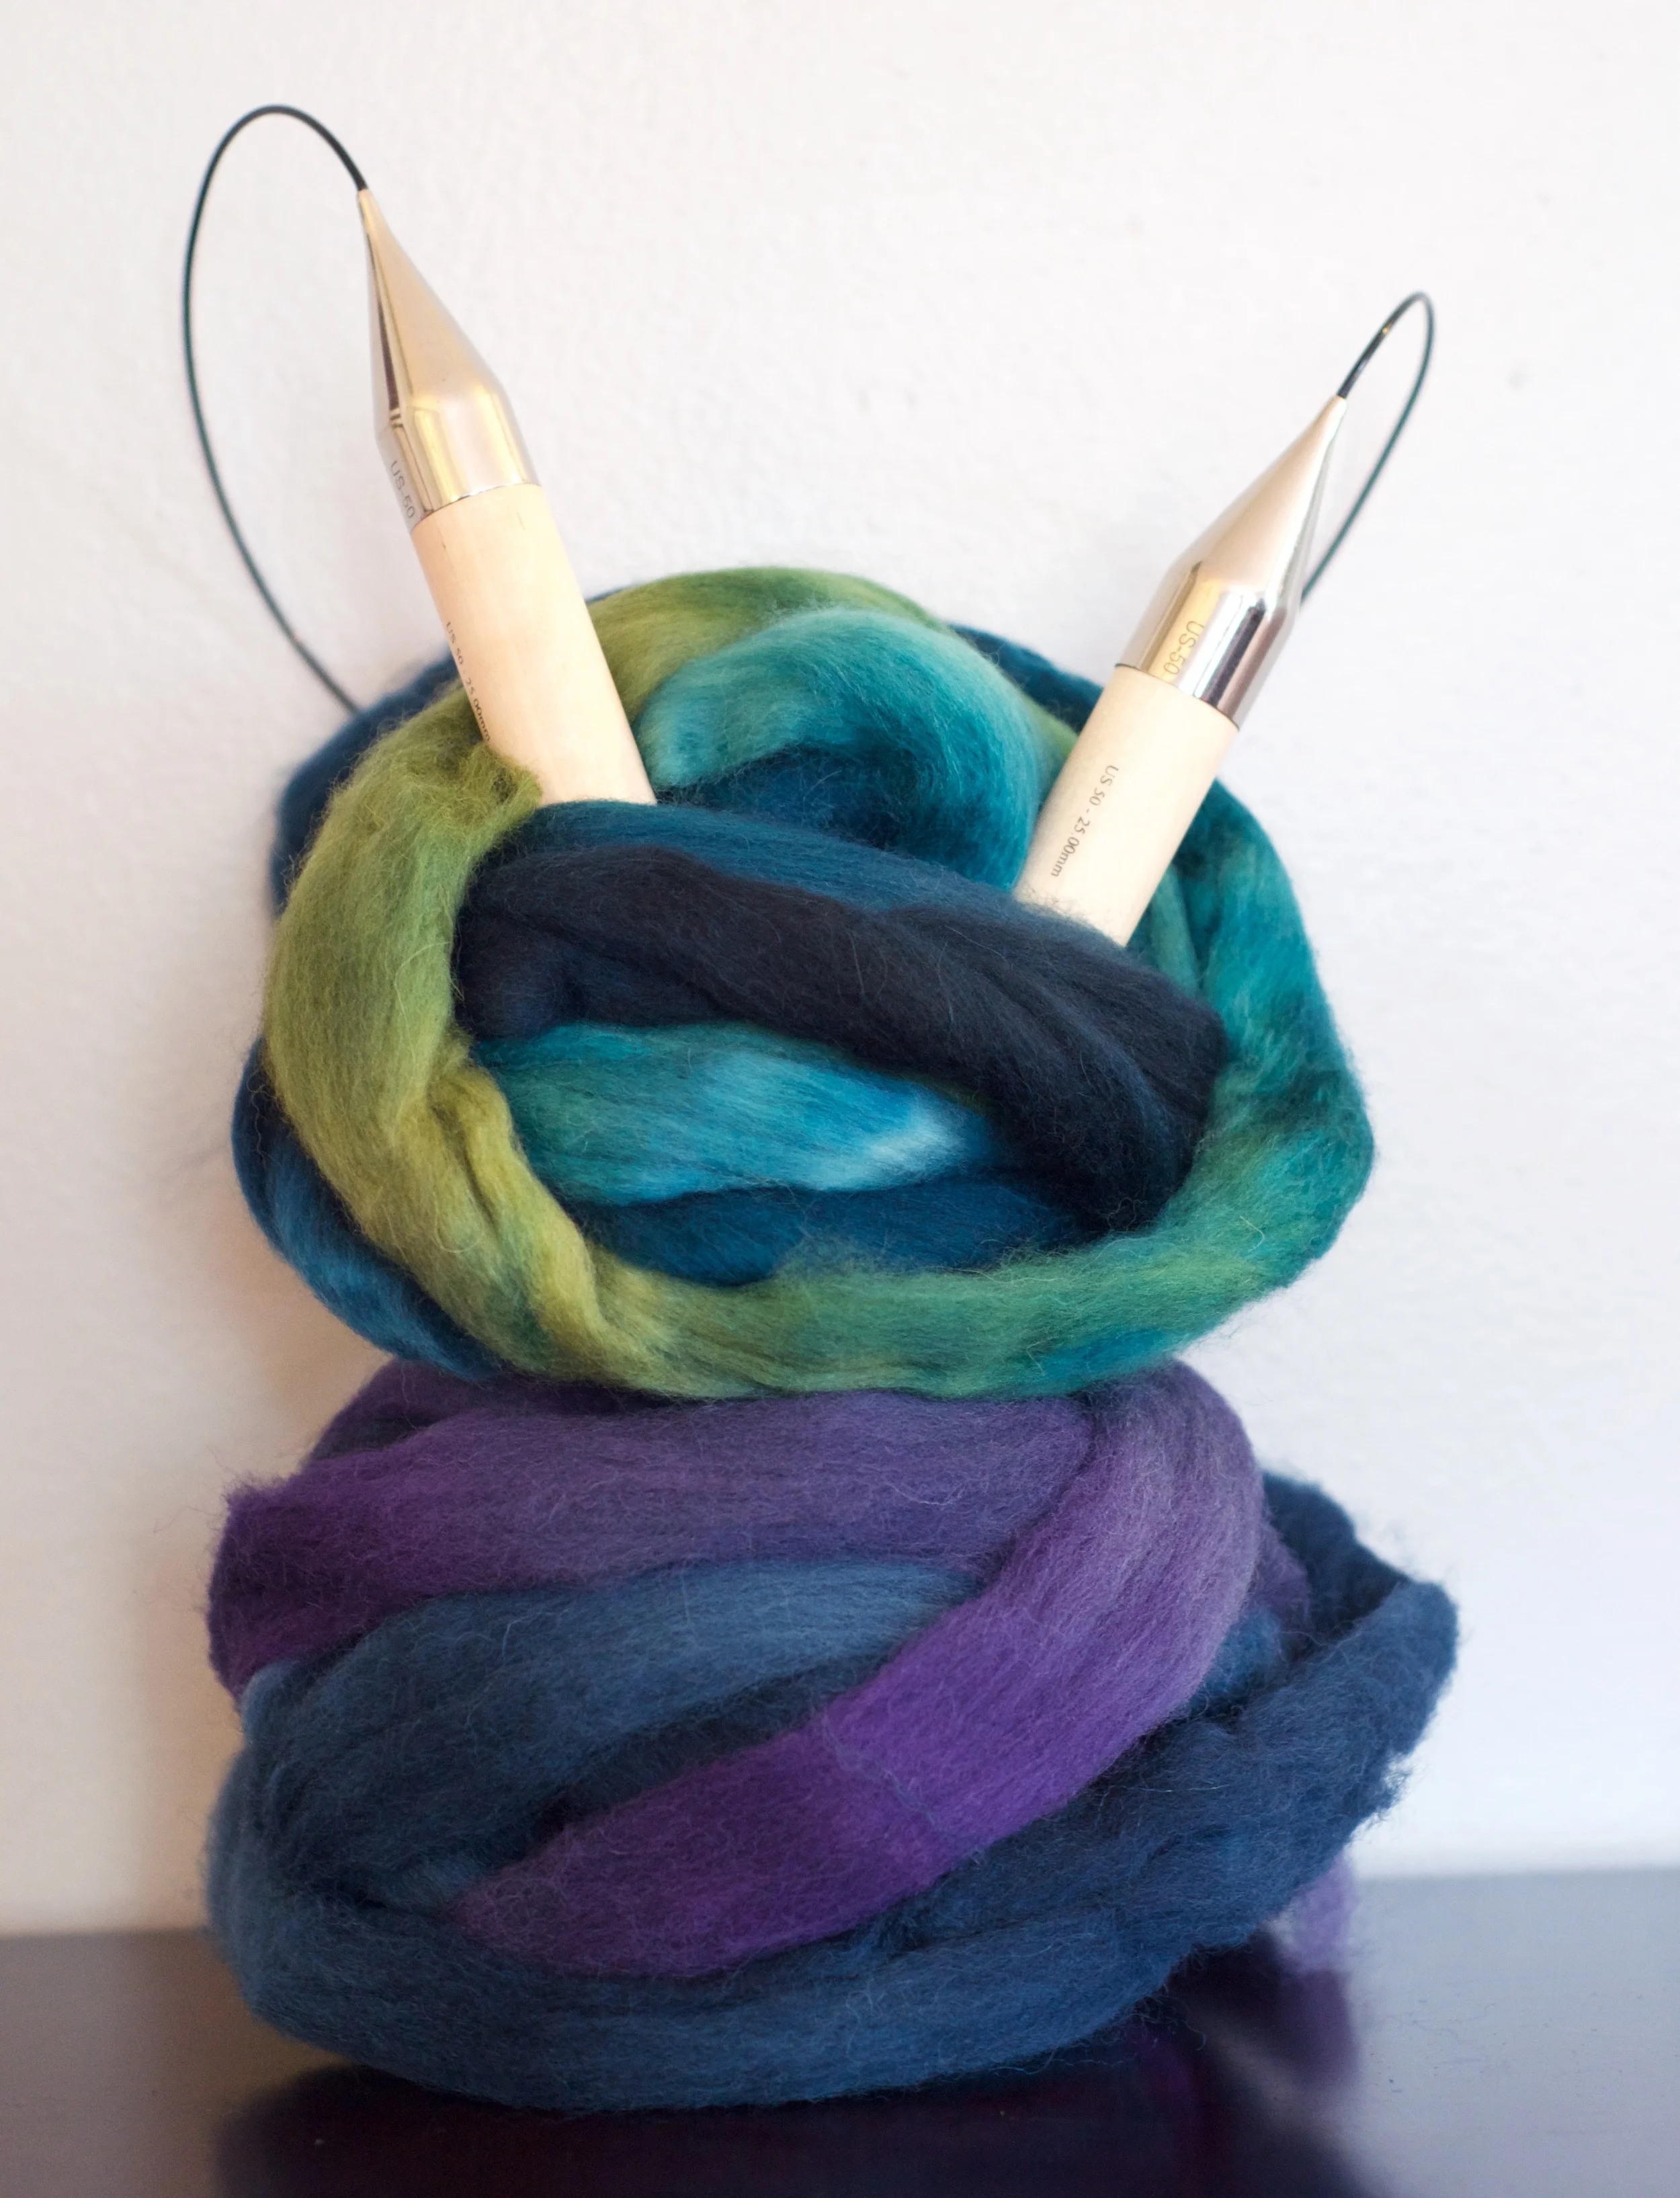
Yarn large enough to get the gauge you need for JUMBO stitches can be expensive. I suggest using wool top. For this cowl, I used two luscious lumps of Southern Cross Fiber top (one in “cavern”50% Falkland Wool, 25% mulberry Silk, 25% Royal Alpaca and the other in “midnight tweed”100% Texel Wool). I do not suggest using roving. One of the lovely things about top is that the fibers have been processed and combed and are all laying neatly parallel to one another. The fibers in roving are only roughly parallel to one another. Roving will be a bit harder to work with and more likely to shed and pill when your cowl is finished.
Tip #3
NOTIONS :
stitch marker
Save yourself some money. Don’t buy huge stitch markers. Use an elastic hair tie to marker the beginning of the round.
Tip #4
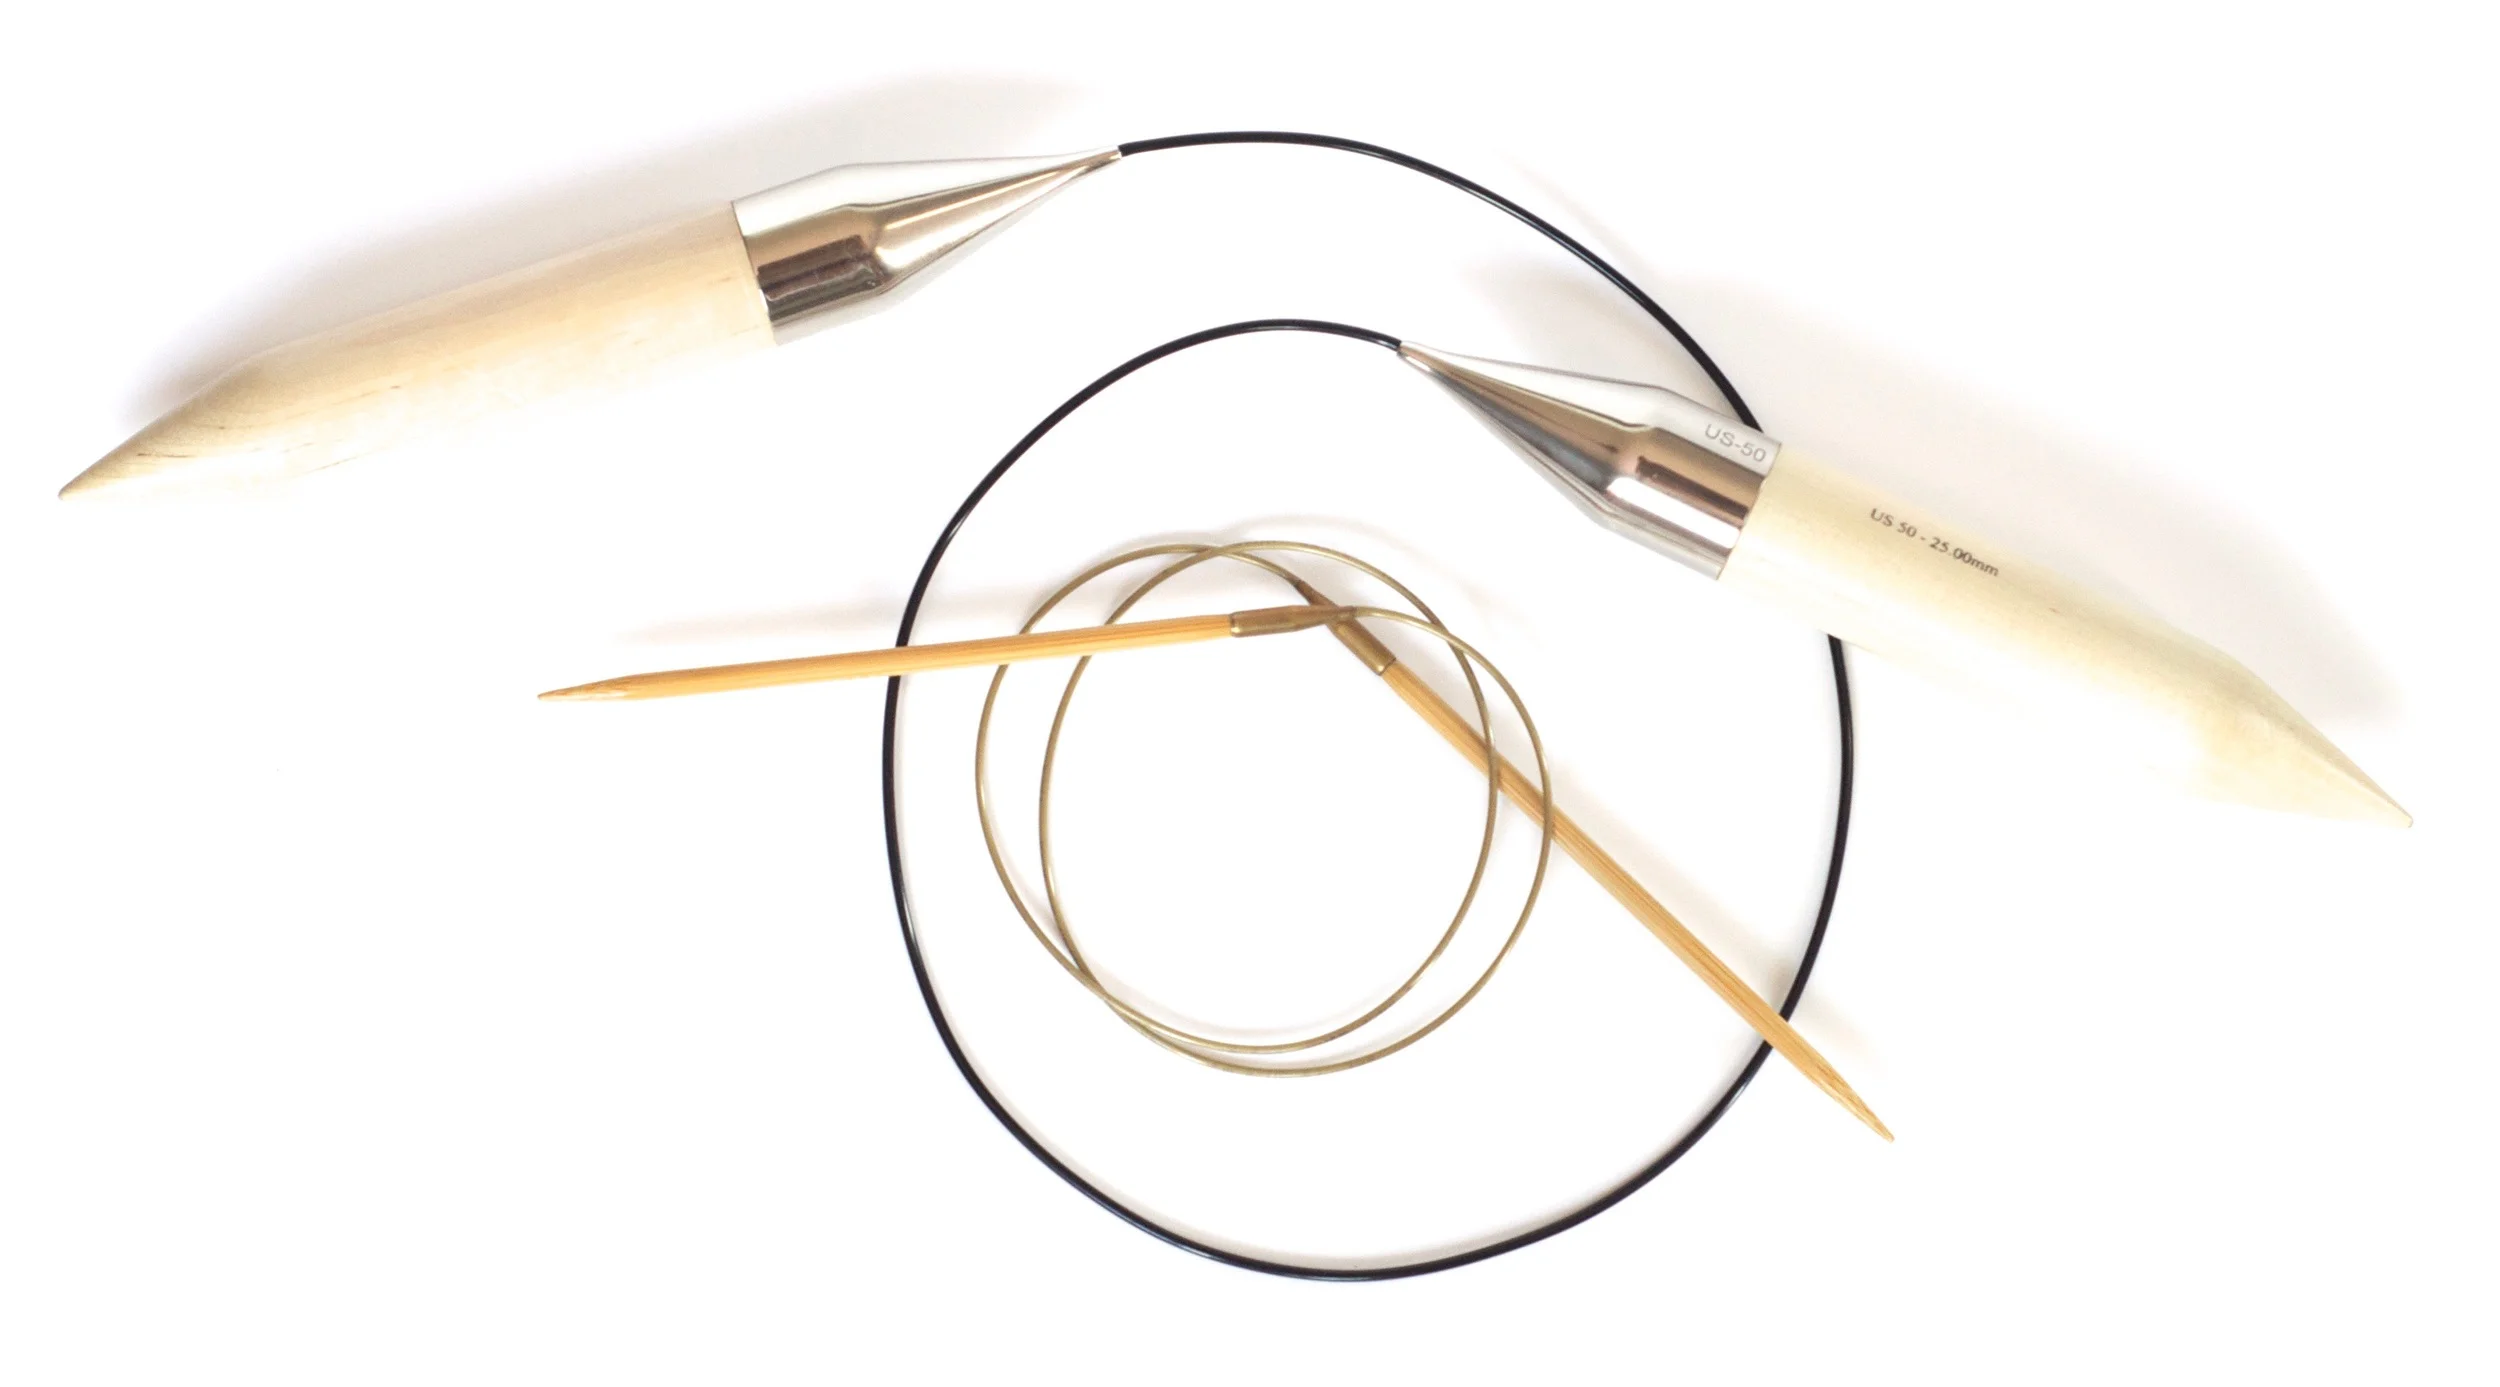
NEEDLES :
US 50 (25mm) 24-inch (60cm) circular needles or size to obtain the correct gauge
You can get some HUGE needles for pretty cheap. I got my size 50 24”circular needles from my LYS for $10.95. They are made by Knitter’s Pride. If you don’t have a LYS that carries these needles, then you shouldn’t have any trouble finding them online. Here is a photo of my size 50 needles next to my size 7 needles. Using the size 50 needles can be a bit like knitting with pointy broomsticks, so be patient with yourself. Remember how awkward it felt when you started knitting? Like that, JUMBO knitting just takes a bit of getting used to.
preparing the wool top:
In order to get more yardage out of your wool top, consider splitting it. Simply unwind your ball of top, find the end and carefully split the single strand into two or even three strands. Gently pull the fibers apart from one end of the strand all the way to the other end. You should now have two (or three) equal lengths of wool top to work with. Wind them back into balls for knitting.
cast on:
I found that the long tail cast on worked best for JUMBO knitting. I tried the knitting on and backwards loop cast on methods, but these methods made the lower edge of the cowl loose and sloppy.
add some twist:
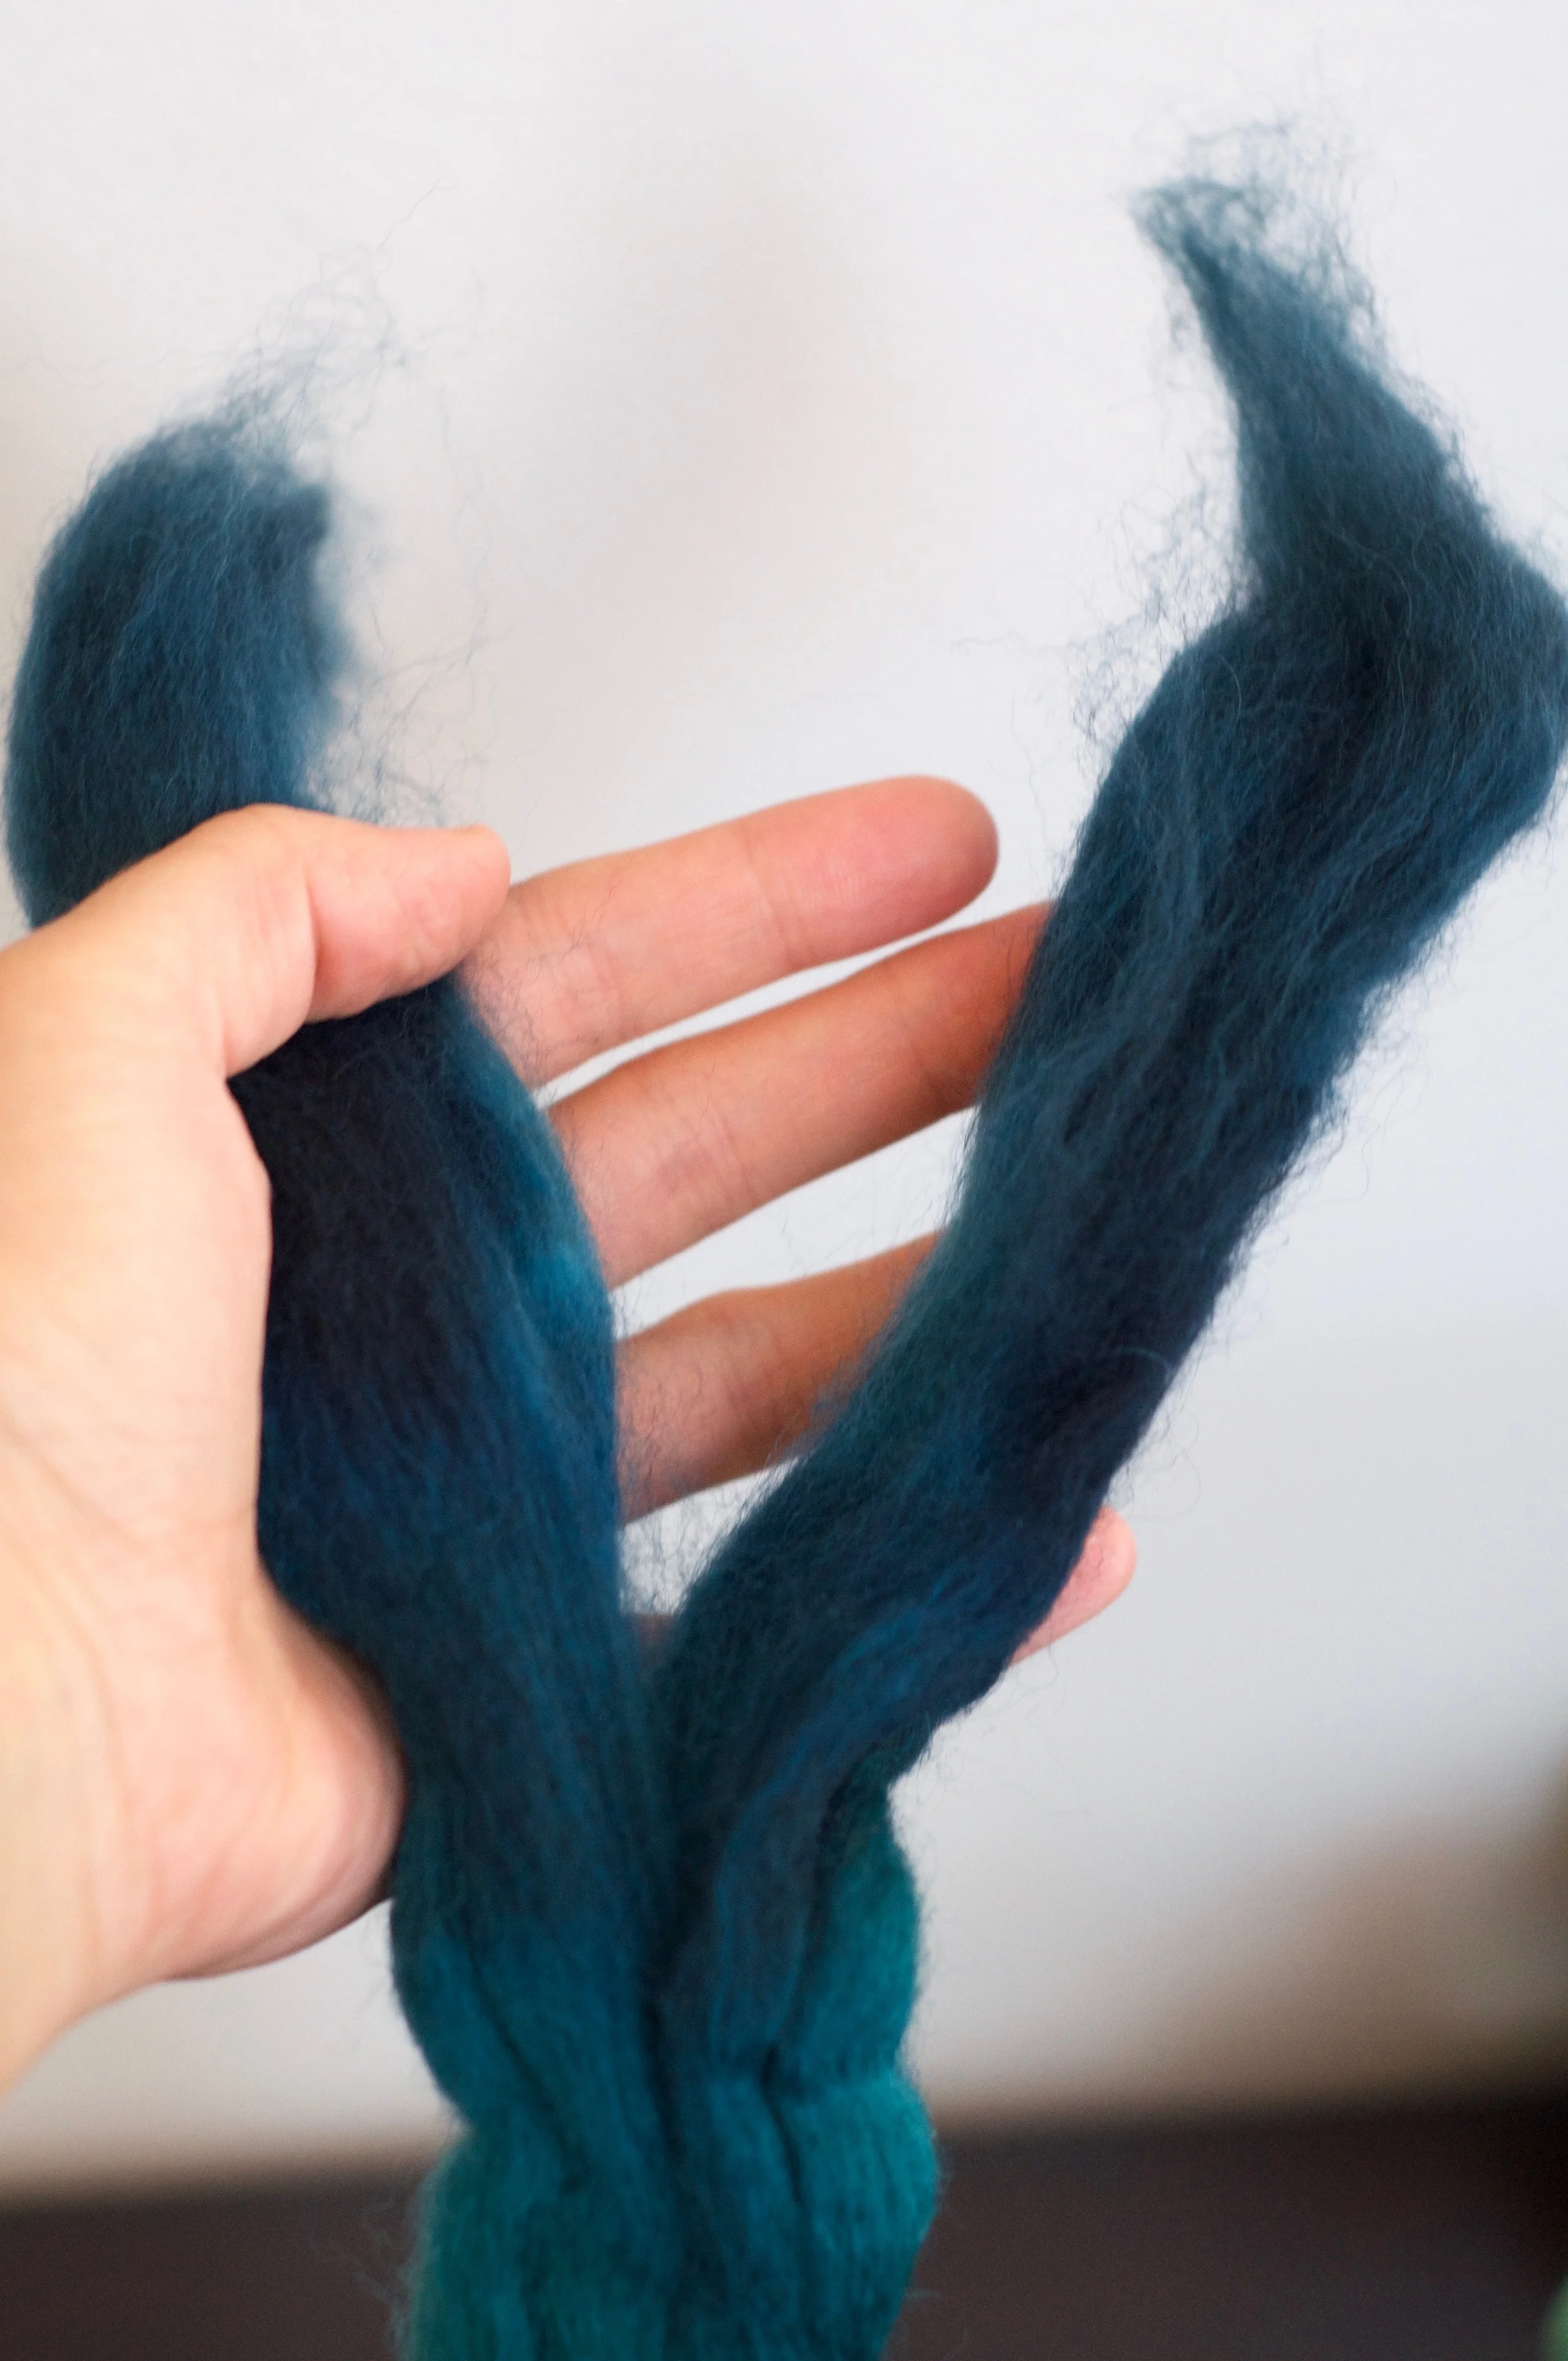
Unlike yarn, wool top has no twist. Twist helps to keep the fibers in your yarn in place. For this reason, your top could use a bit of twist. Adding twist to your top is simple and does not require any special equipment. BONUS: You can do it while you knit.
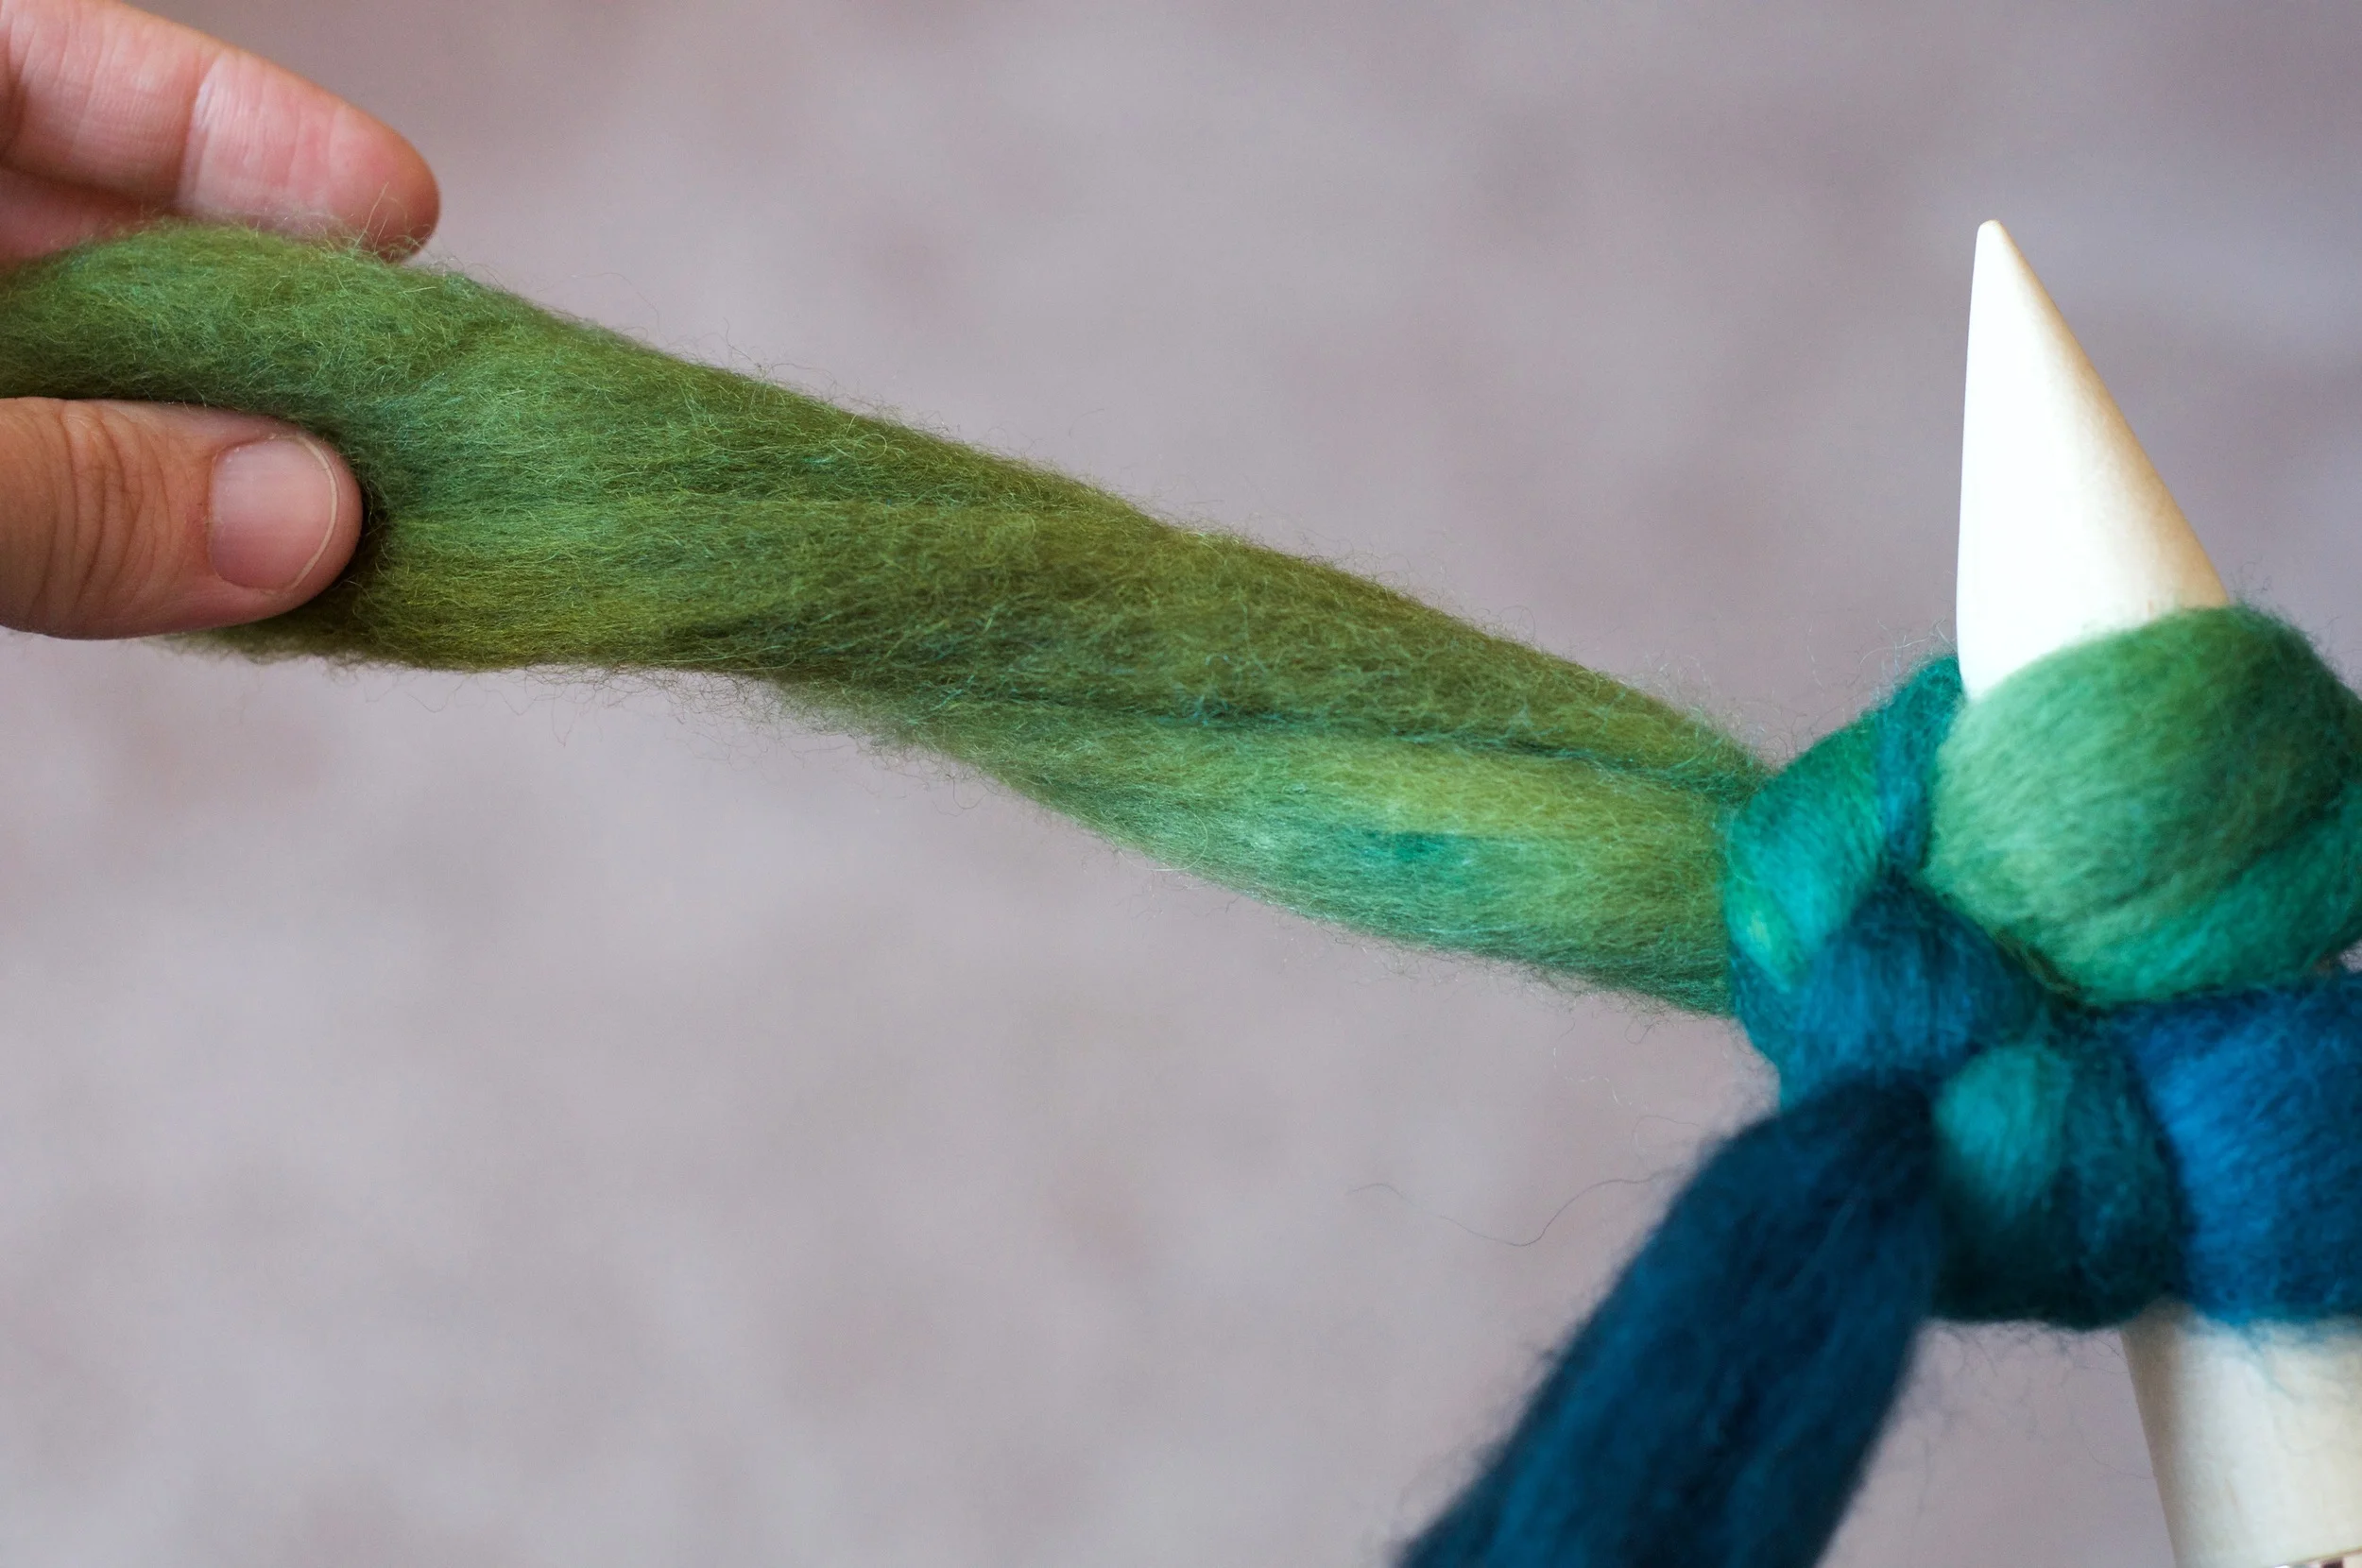
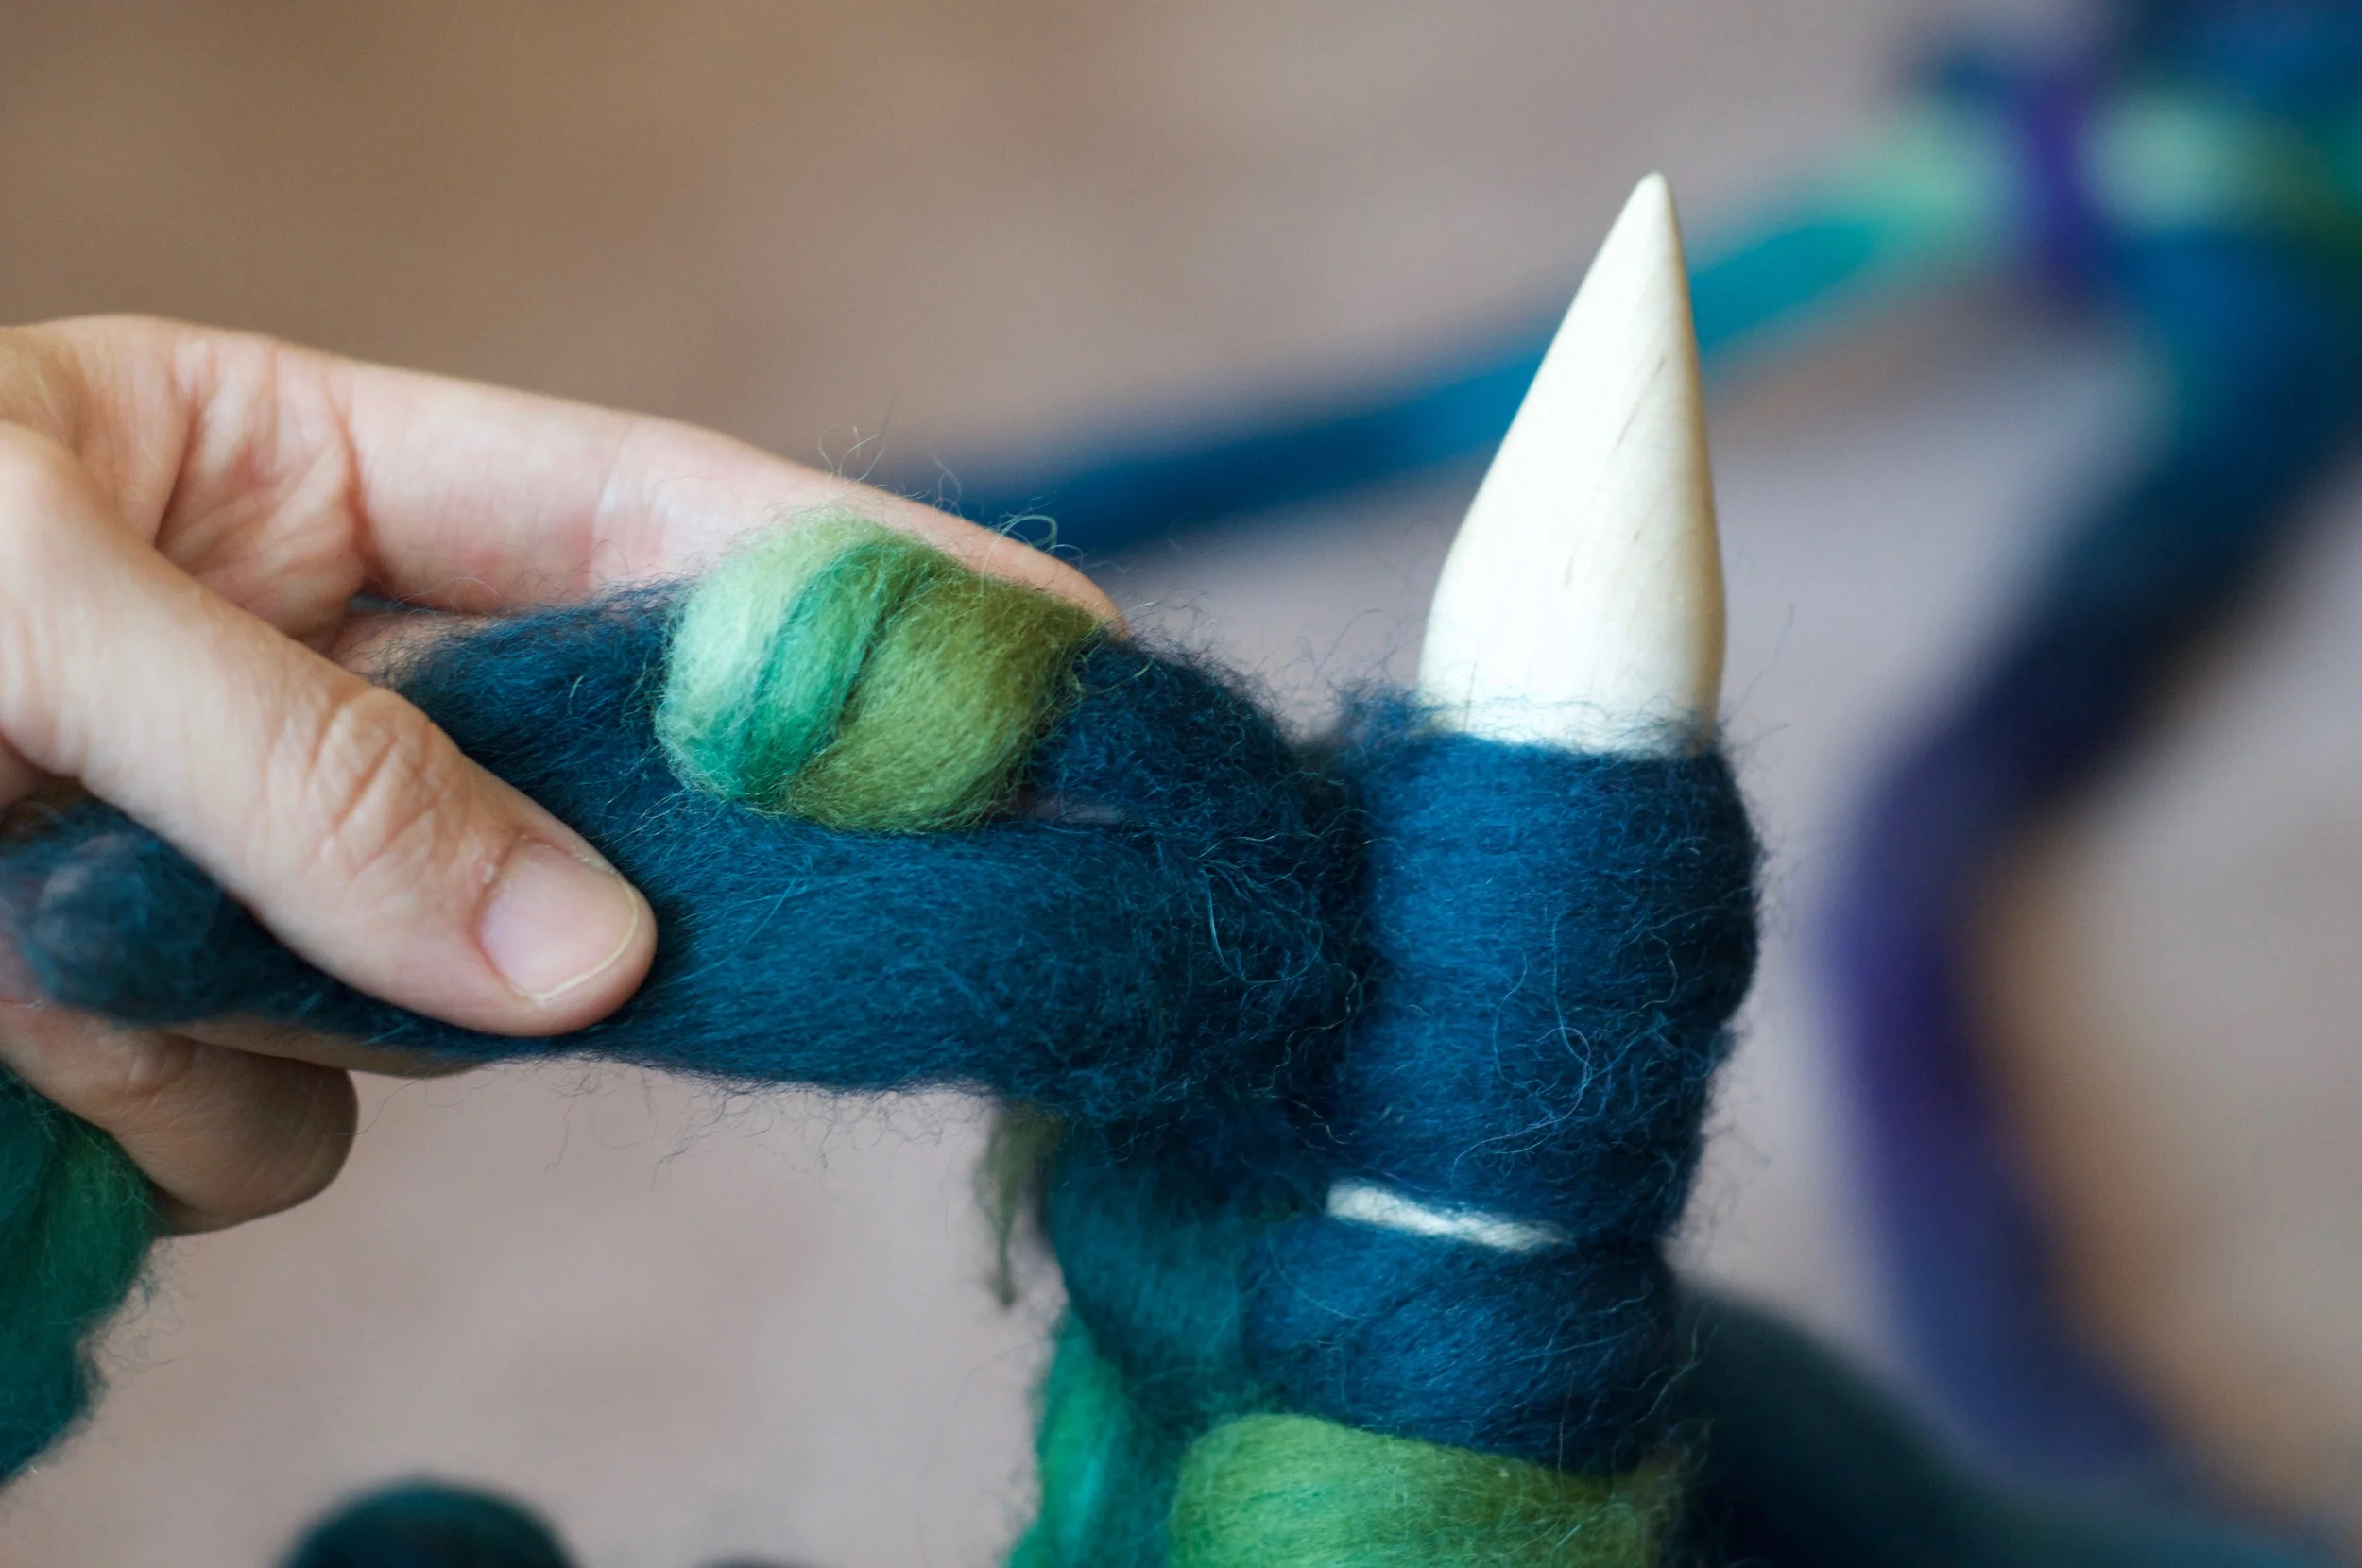
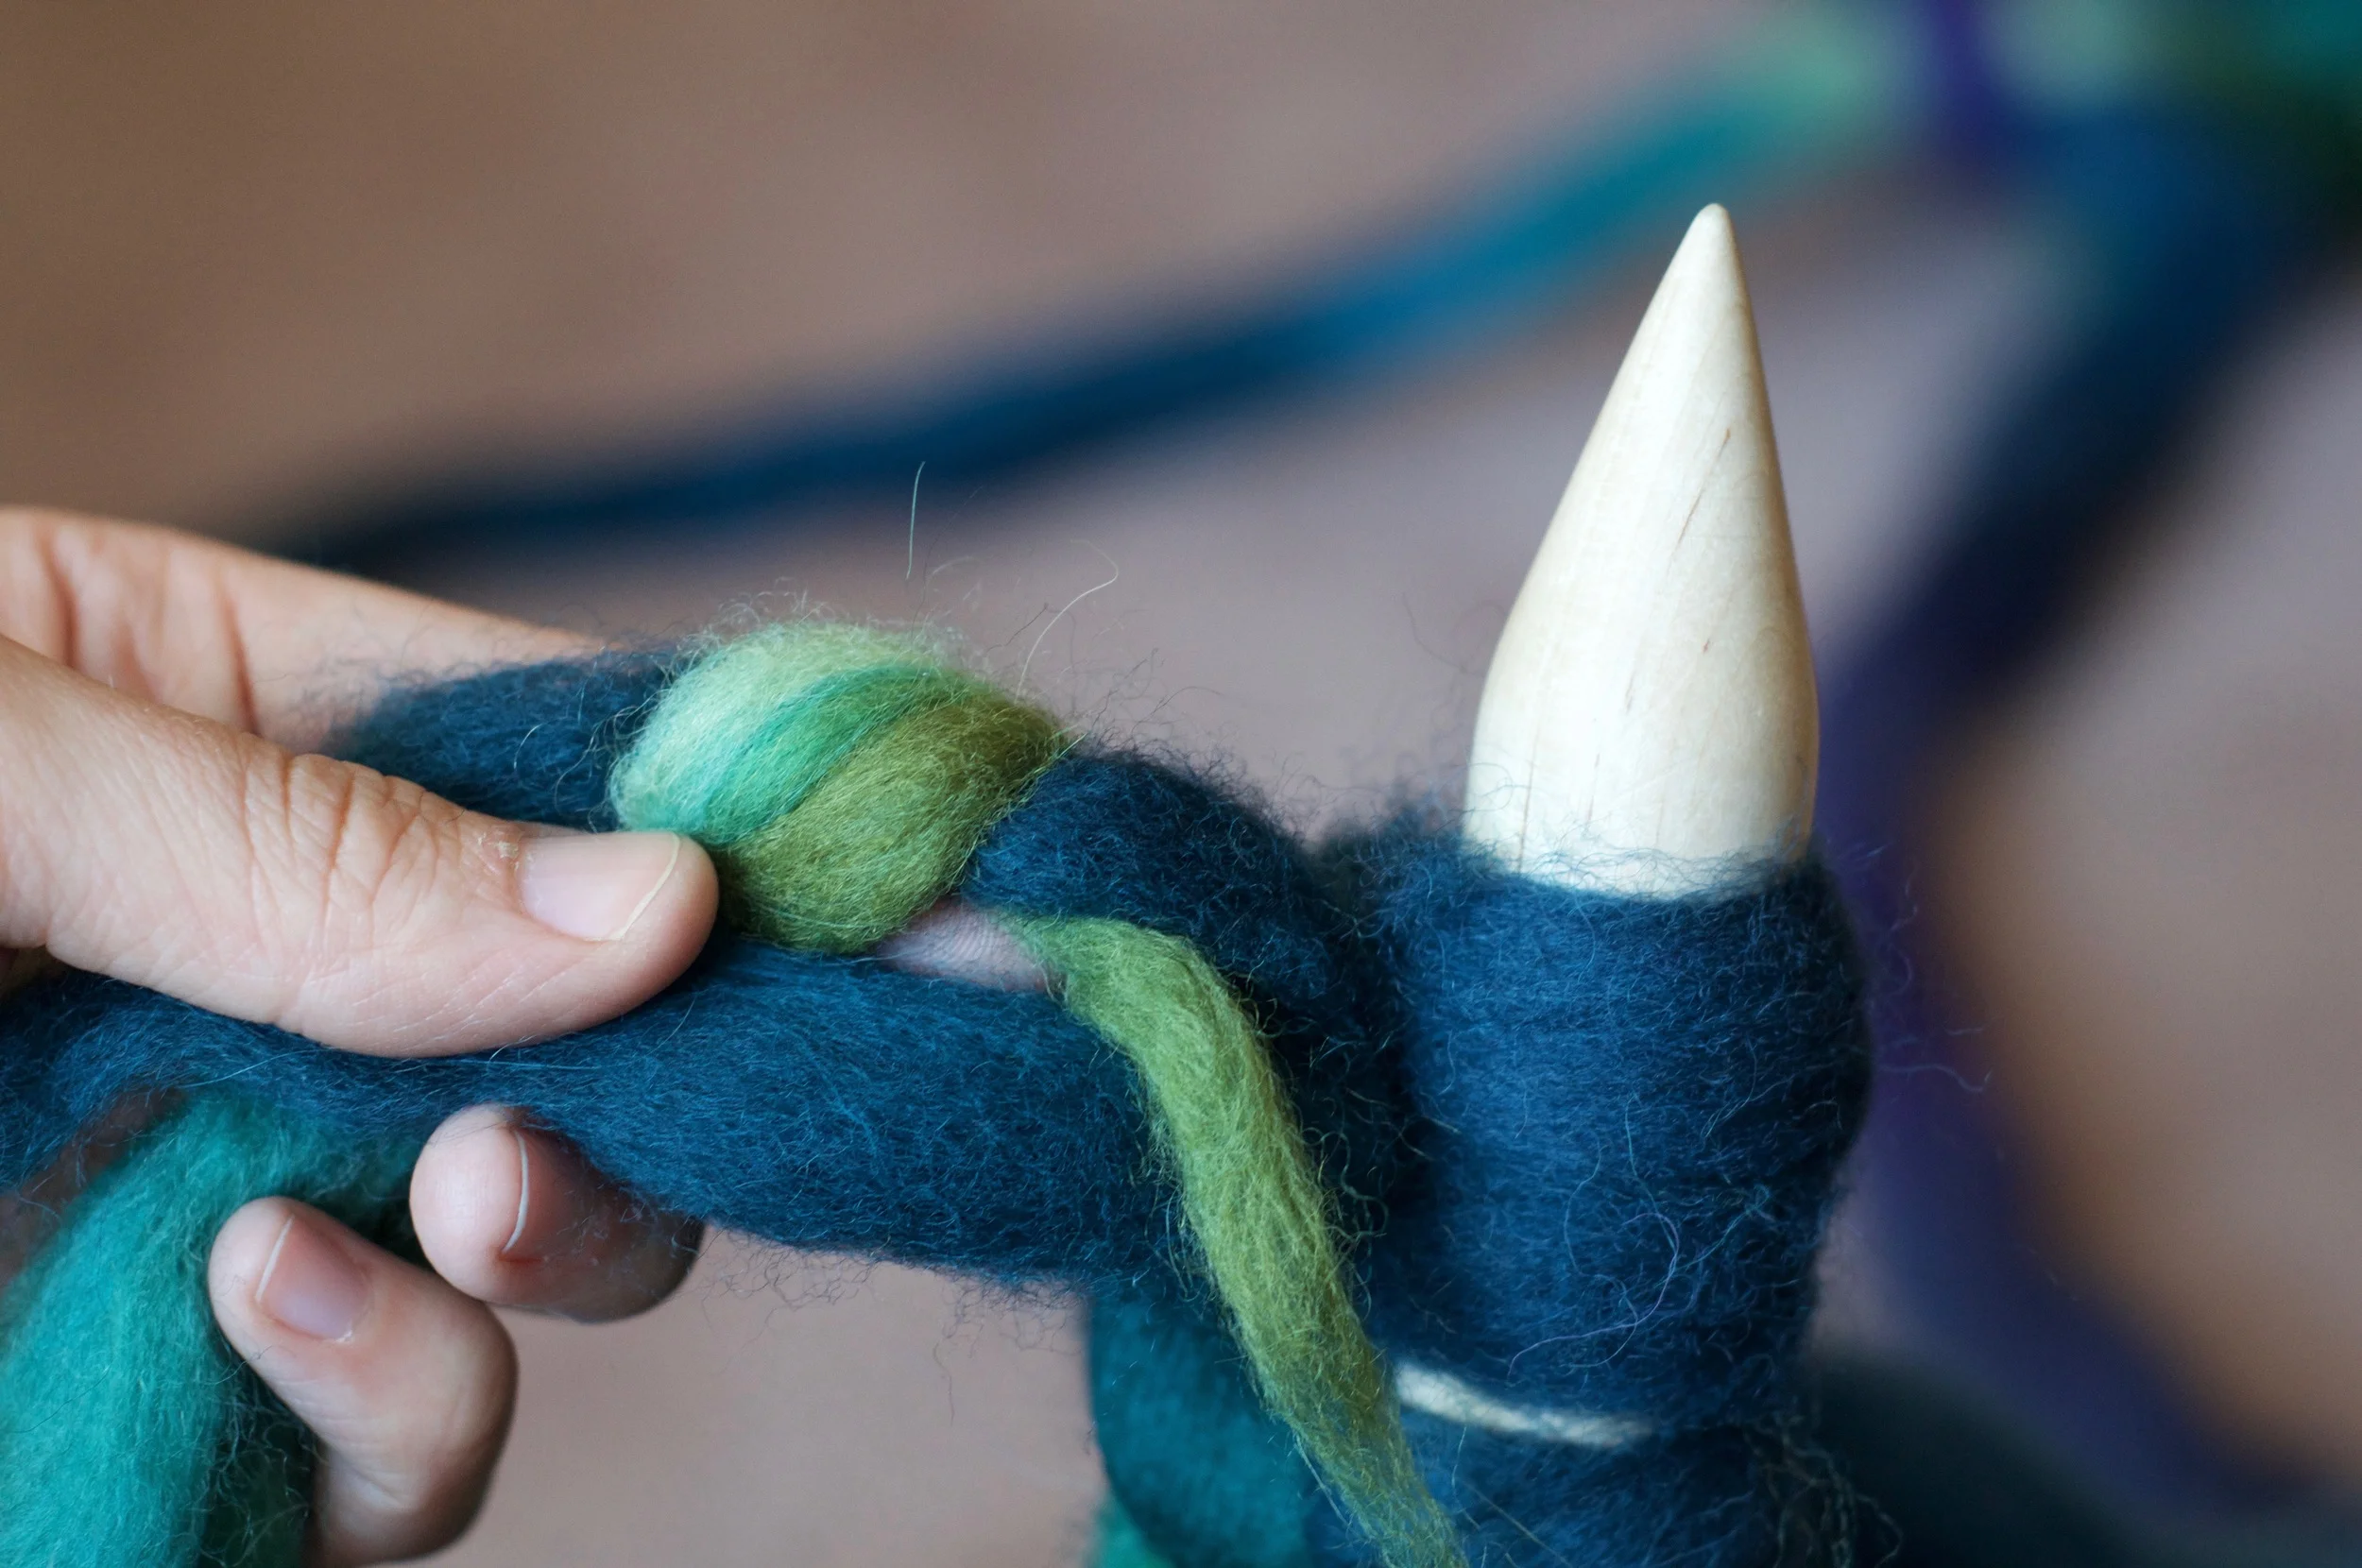
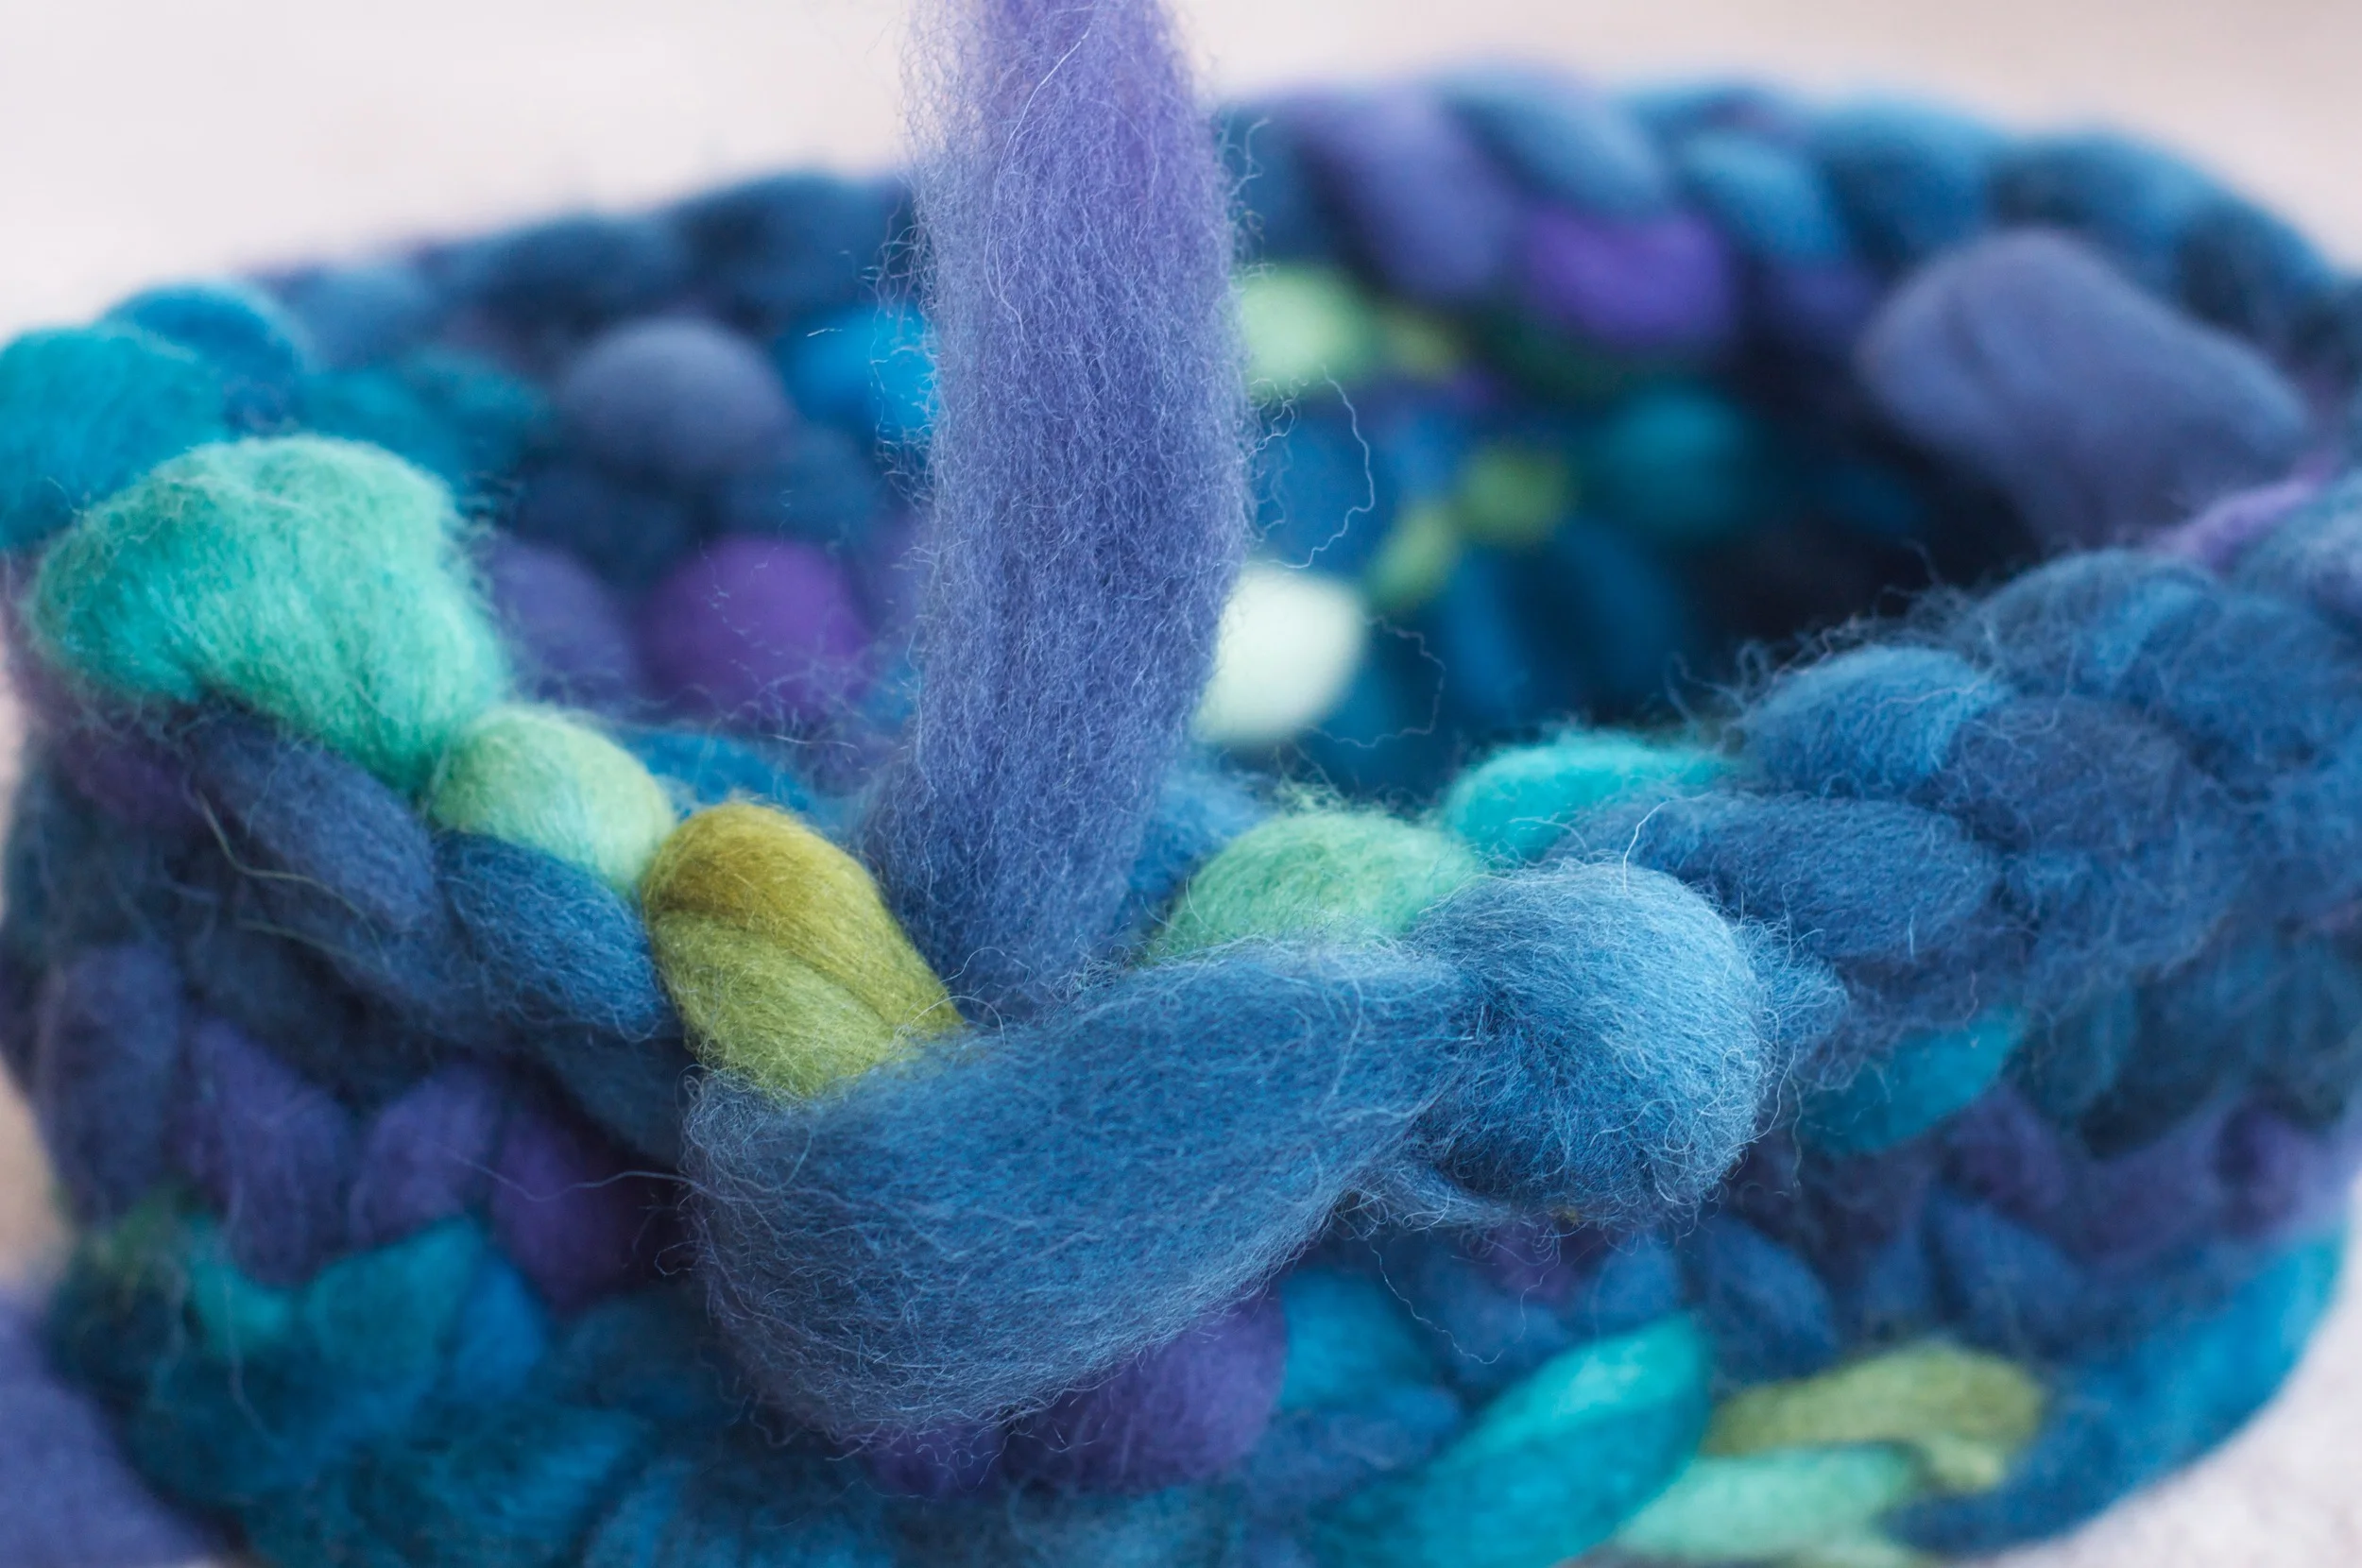
Here is what your fiber will look like just before it goes on your needles. This is approximately 4 inches of fiber from the needle to my fingertips.
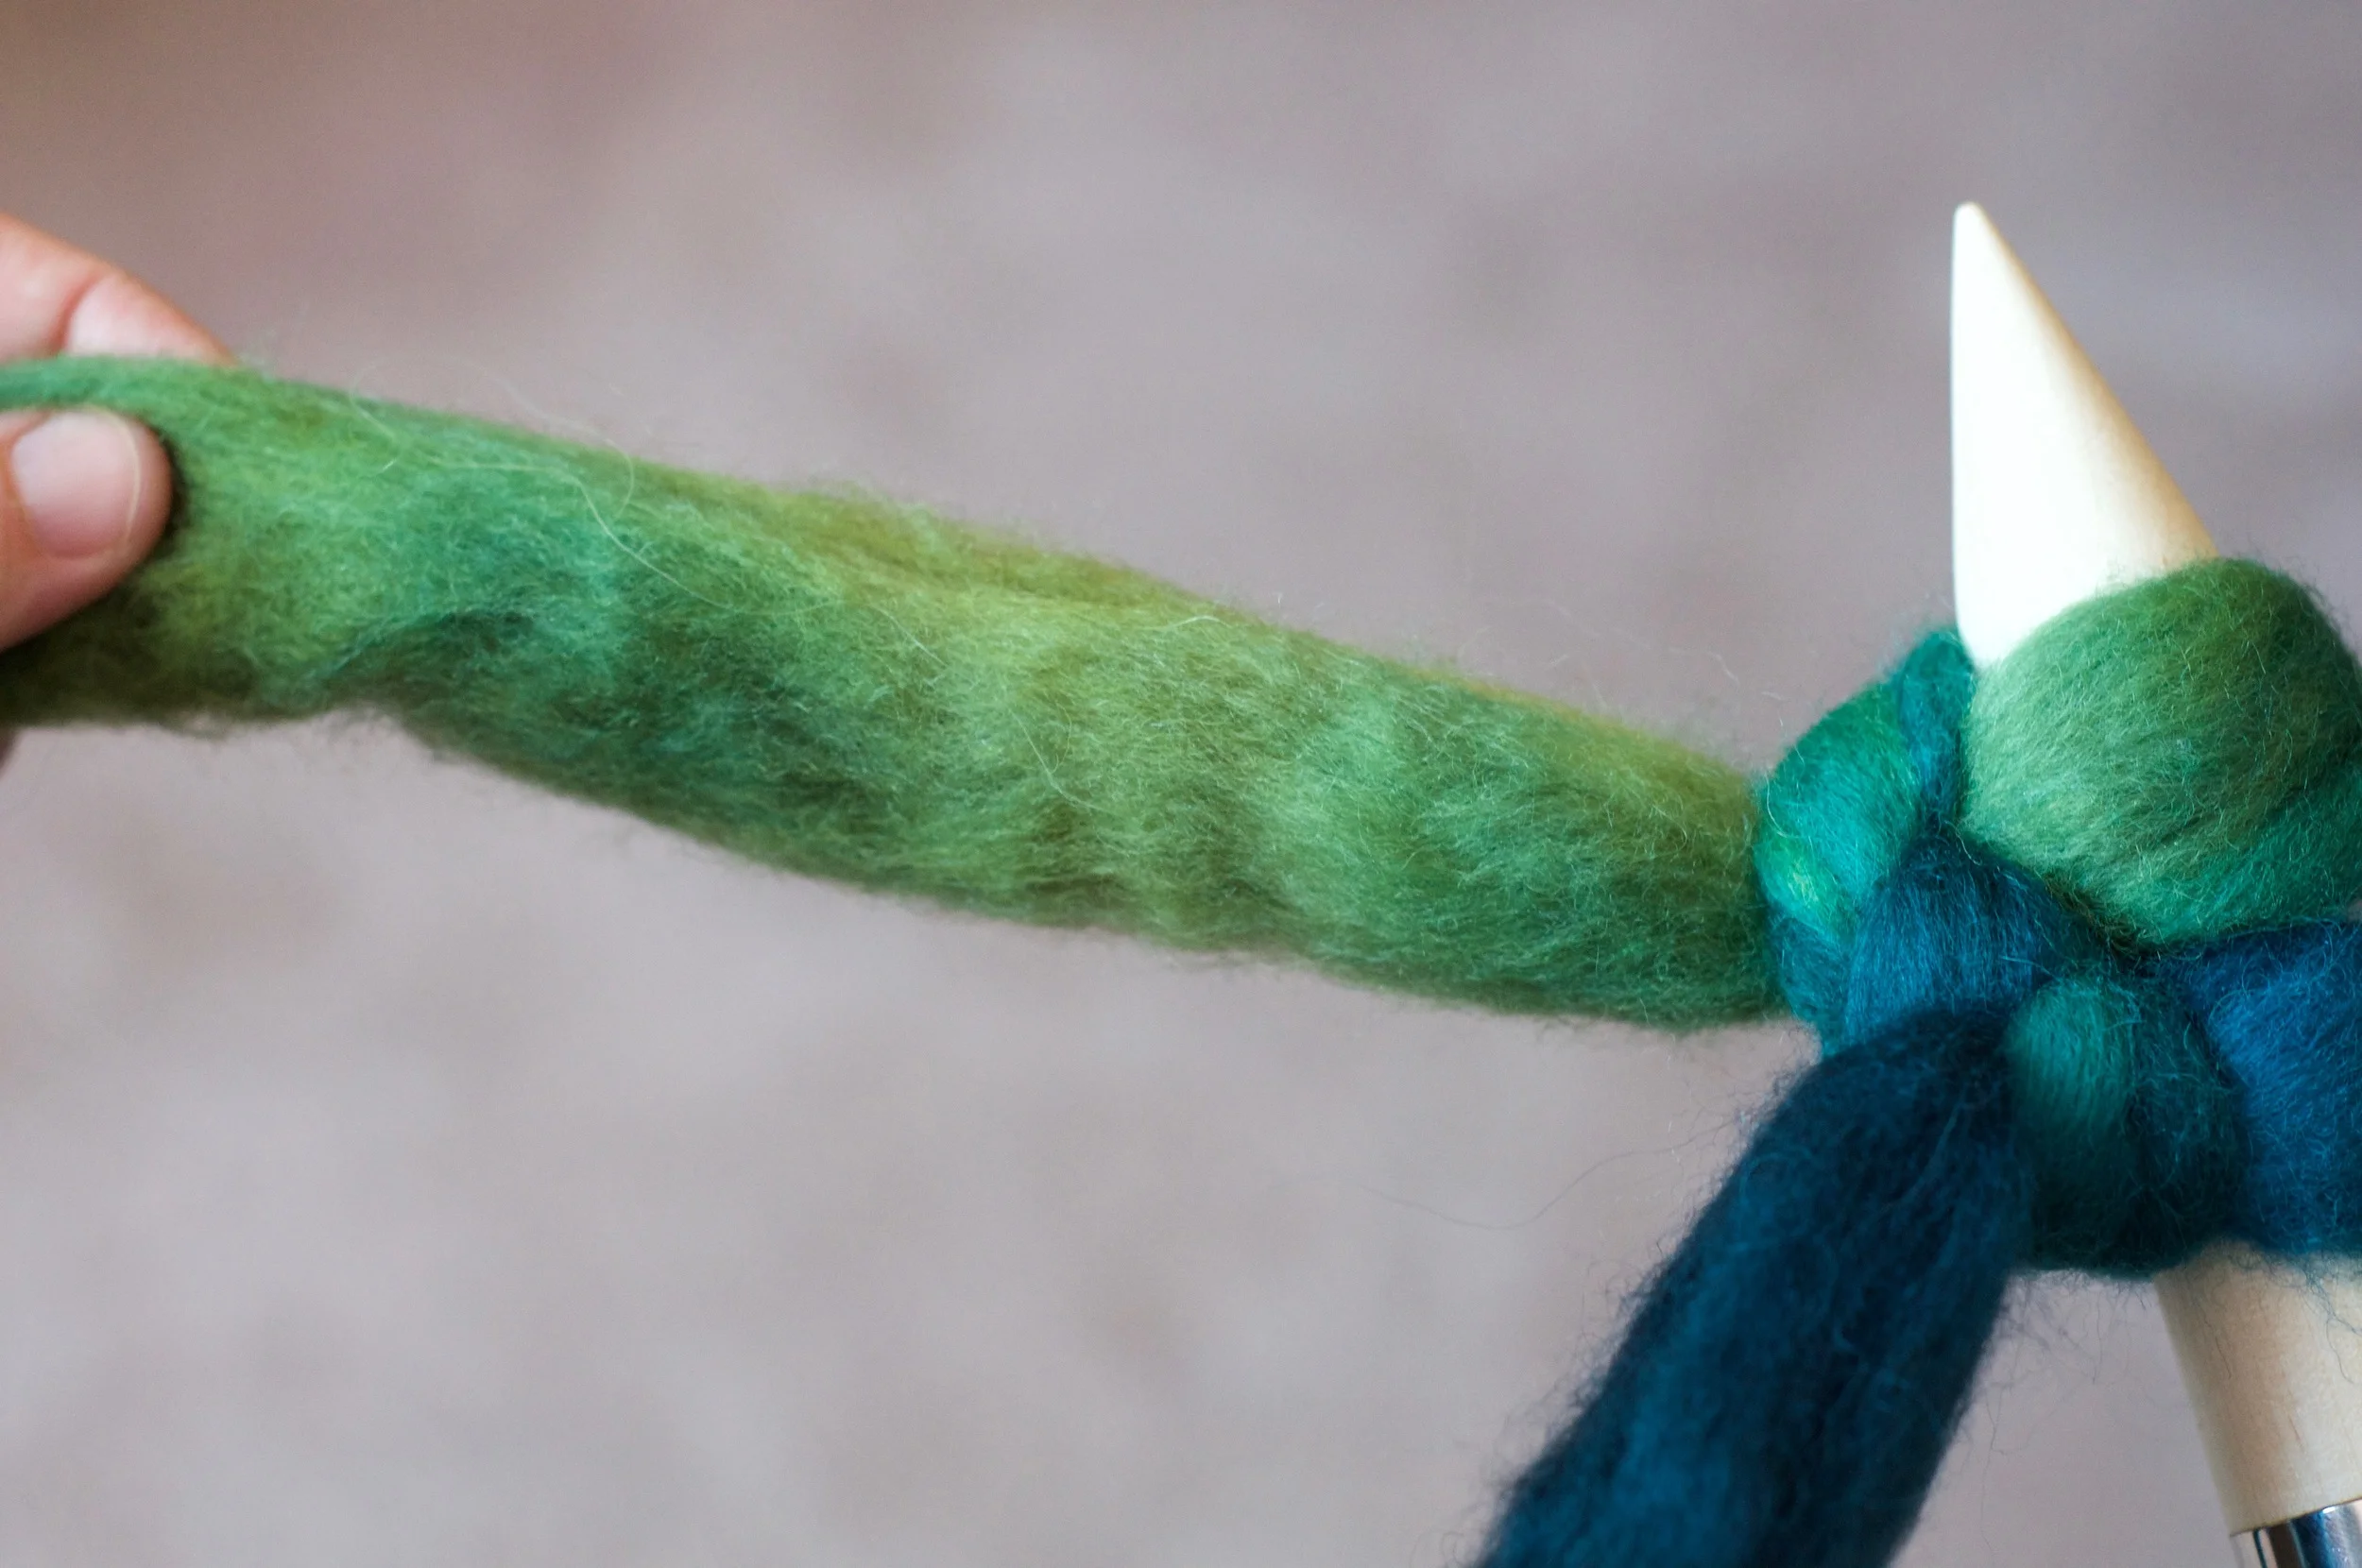
Twist your fiber 360 degrees before knitting or casting on the next stitch. This turns your top into yarn. Repeat this process for every stitch.
joining:
Because your stitches will be GIGANTIC, you will be using the prepared lengths of wool top very quickly. I used one and a half lengths of wool top for the cast on round, one length of top for each knit round and two lengths of top for the bind off round. This is how to join one length of wool top to the next:
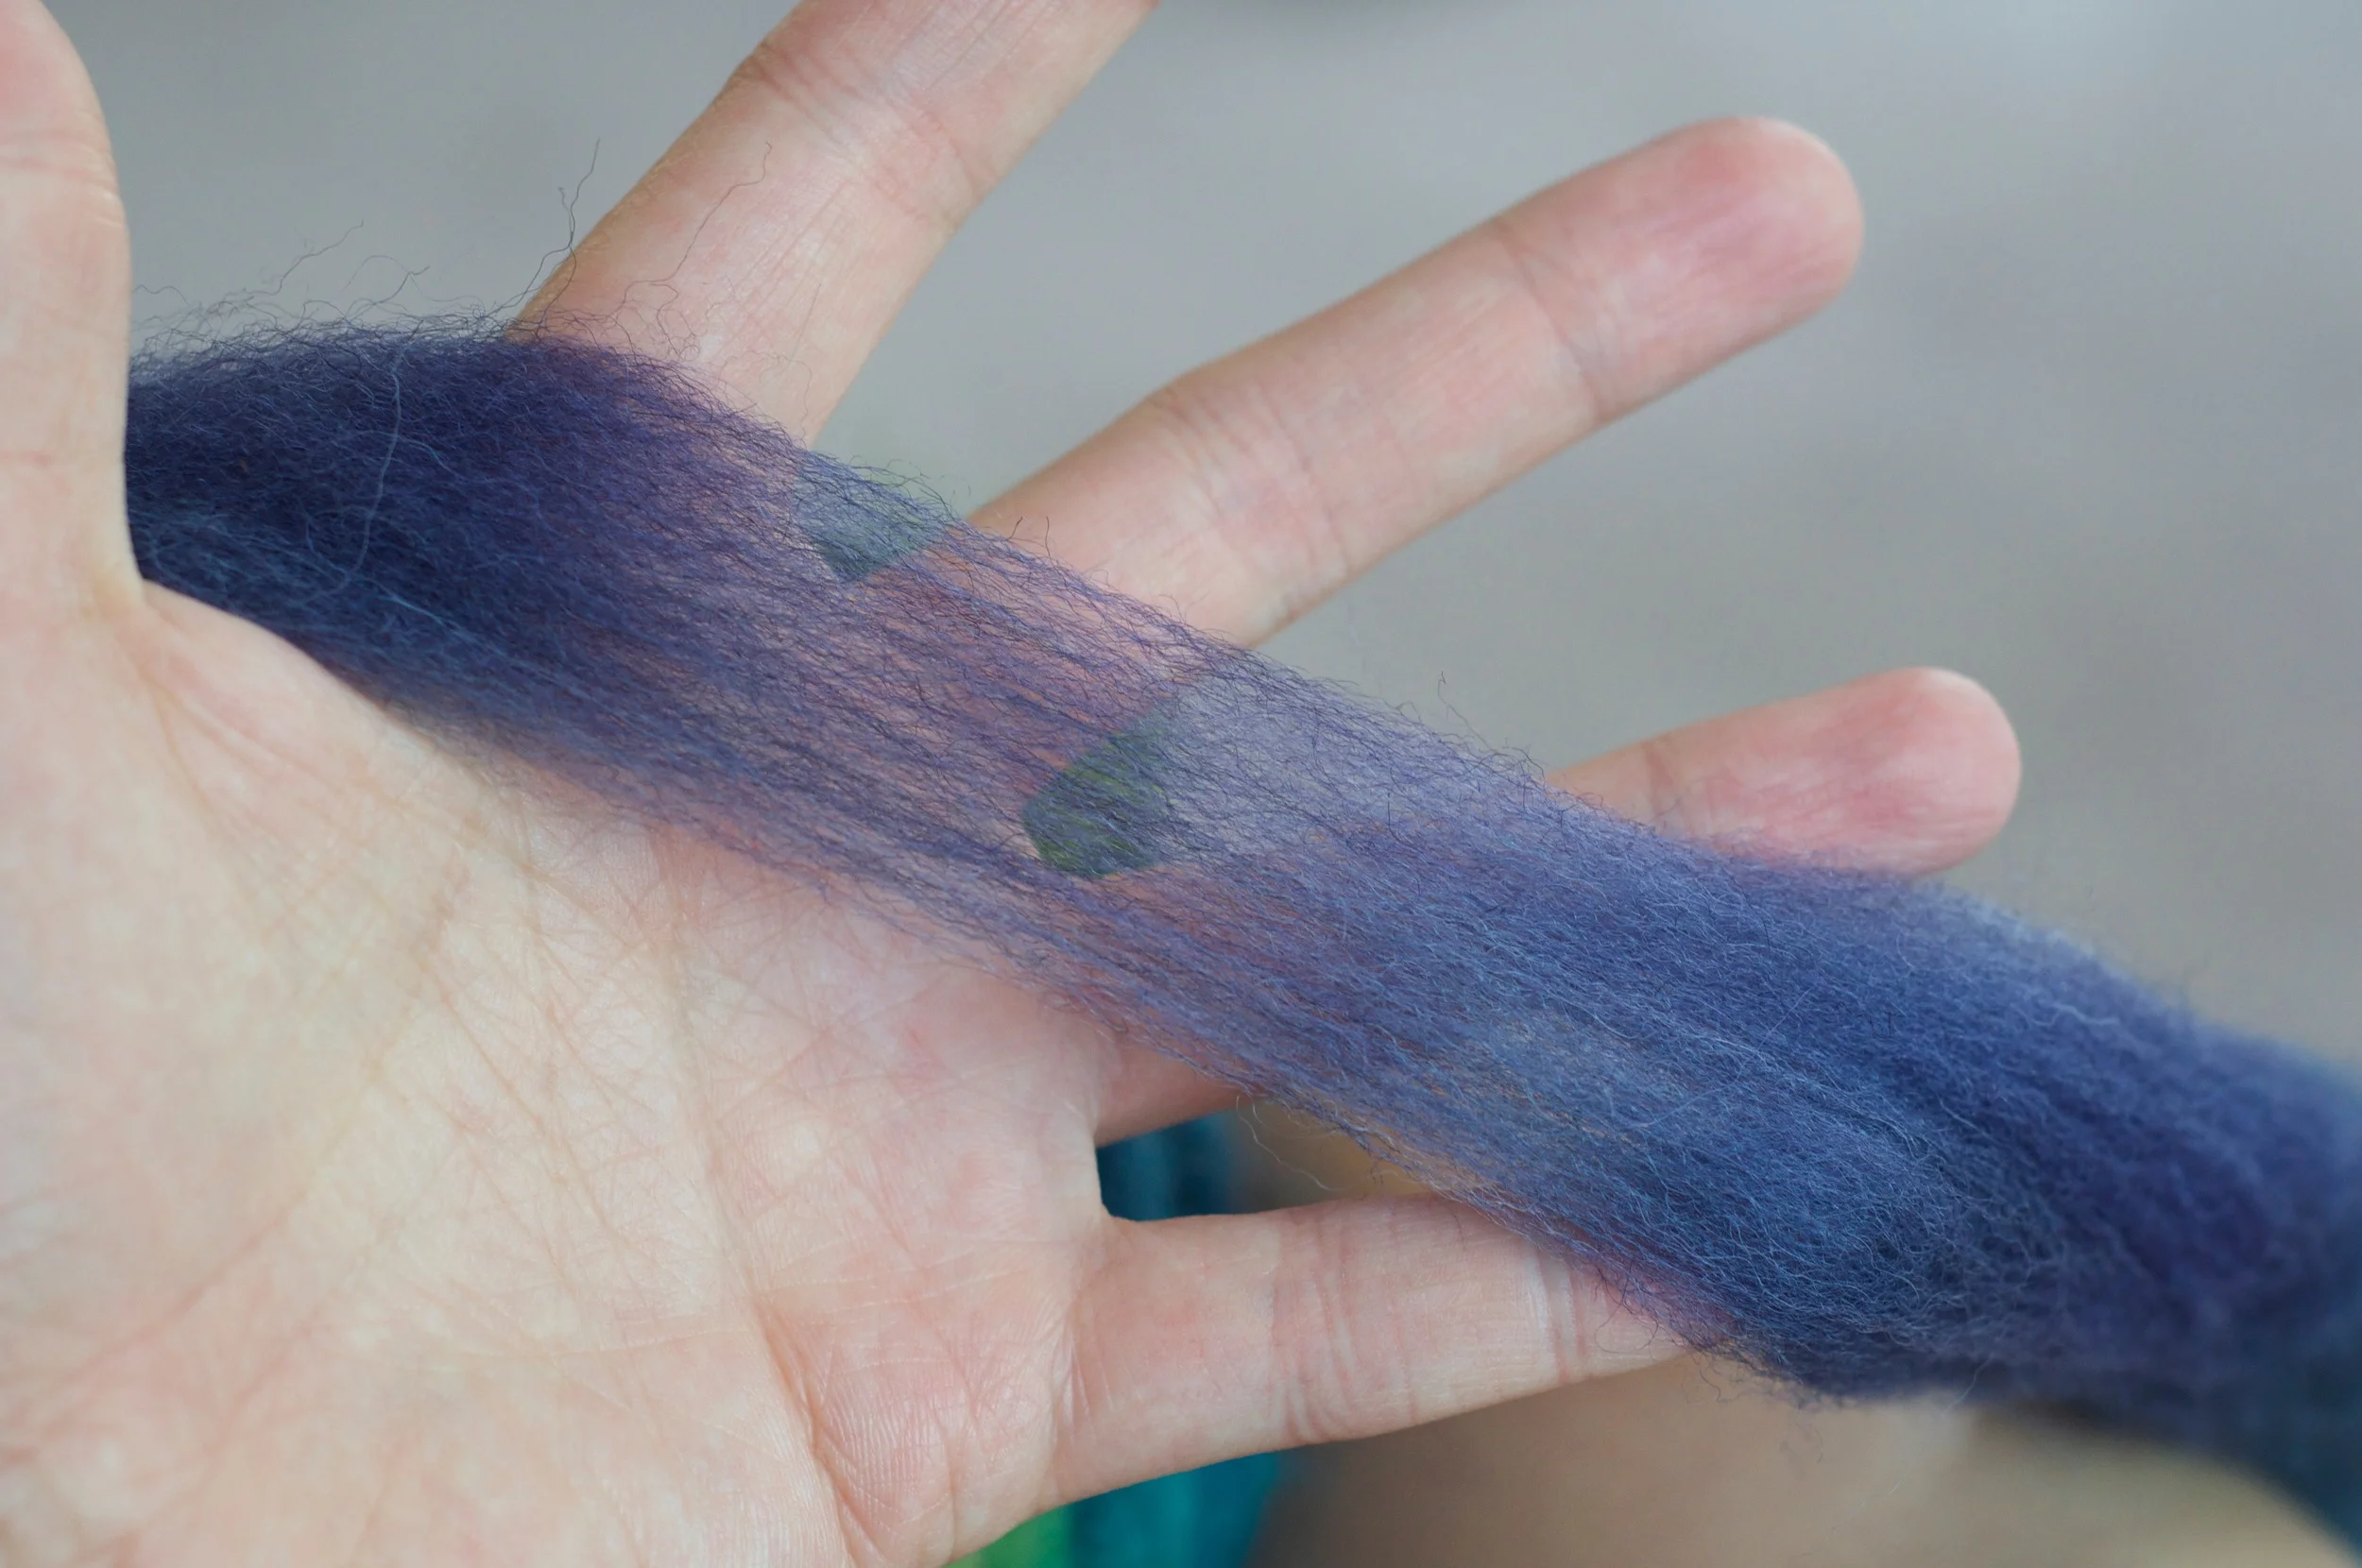
Gently push your finger through the center of the the end of the top, creating a small hole.
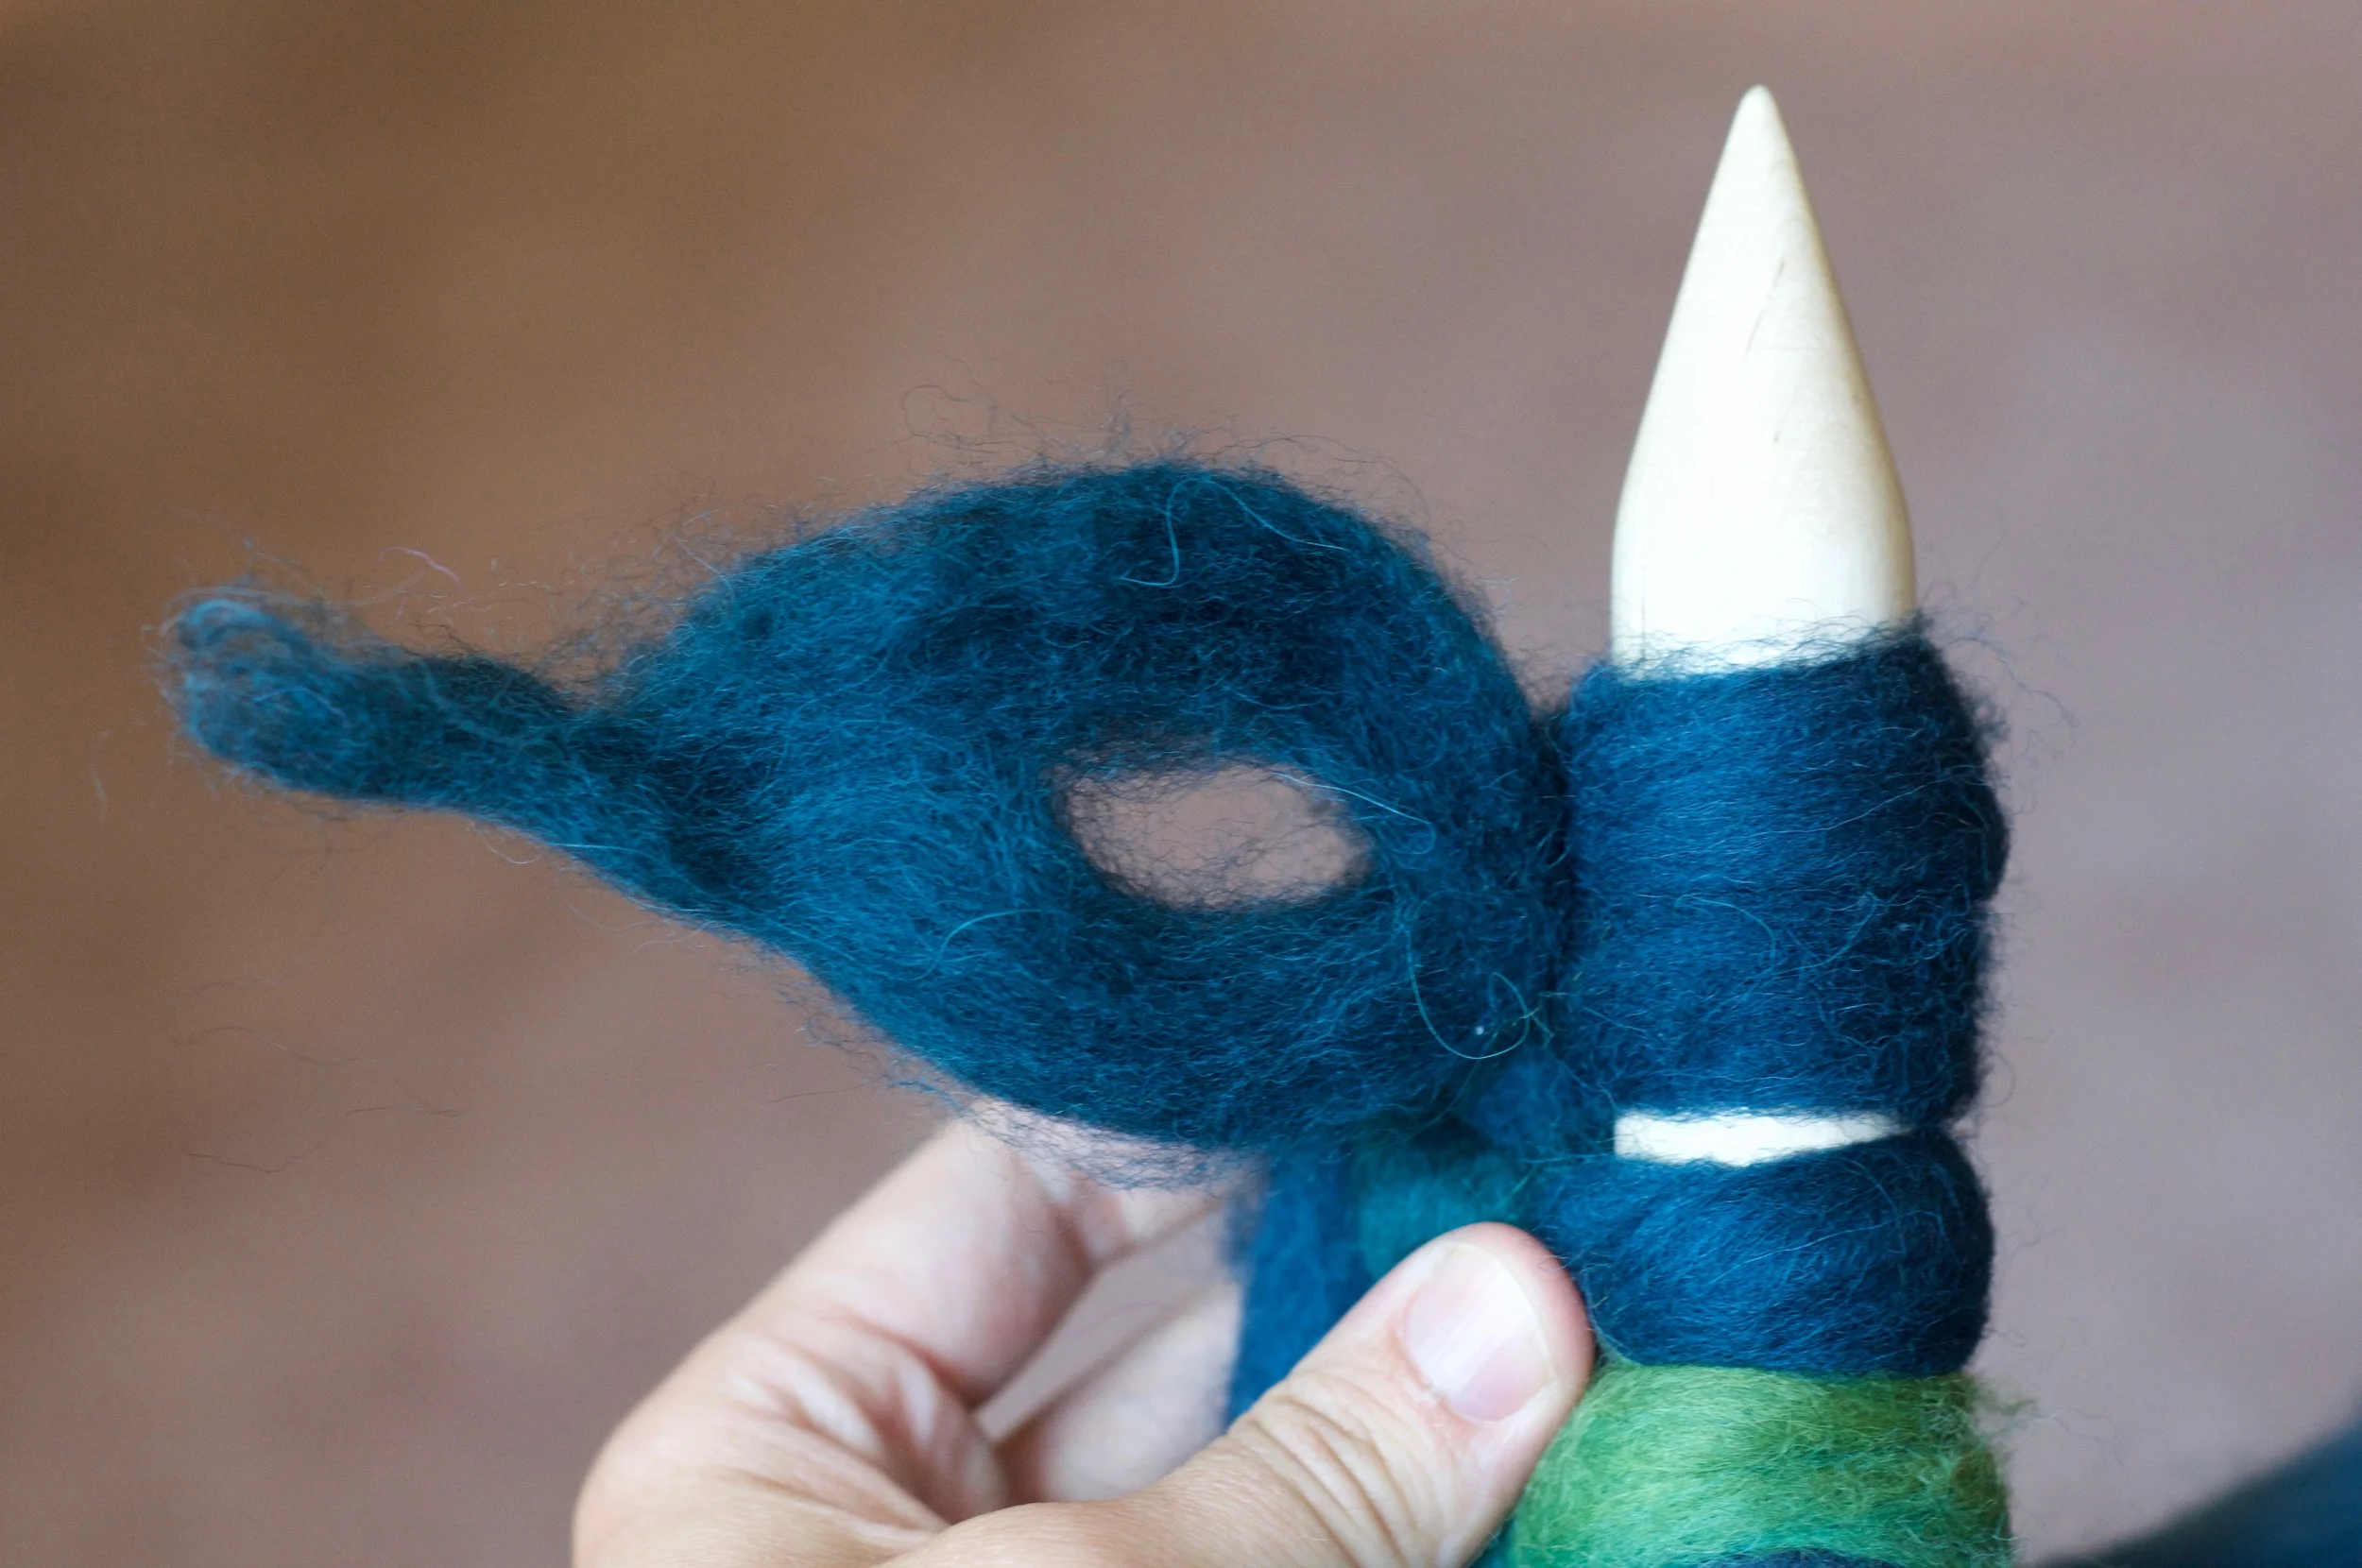
Slip the new length of top through the hole from the back to the front.
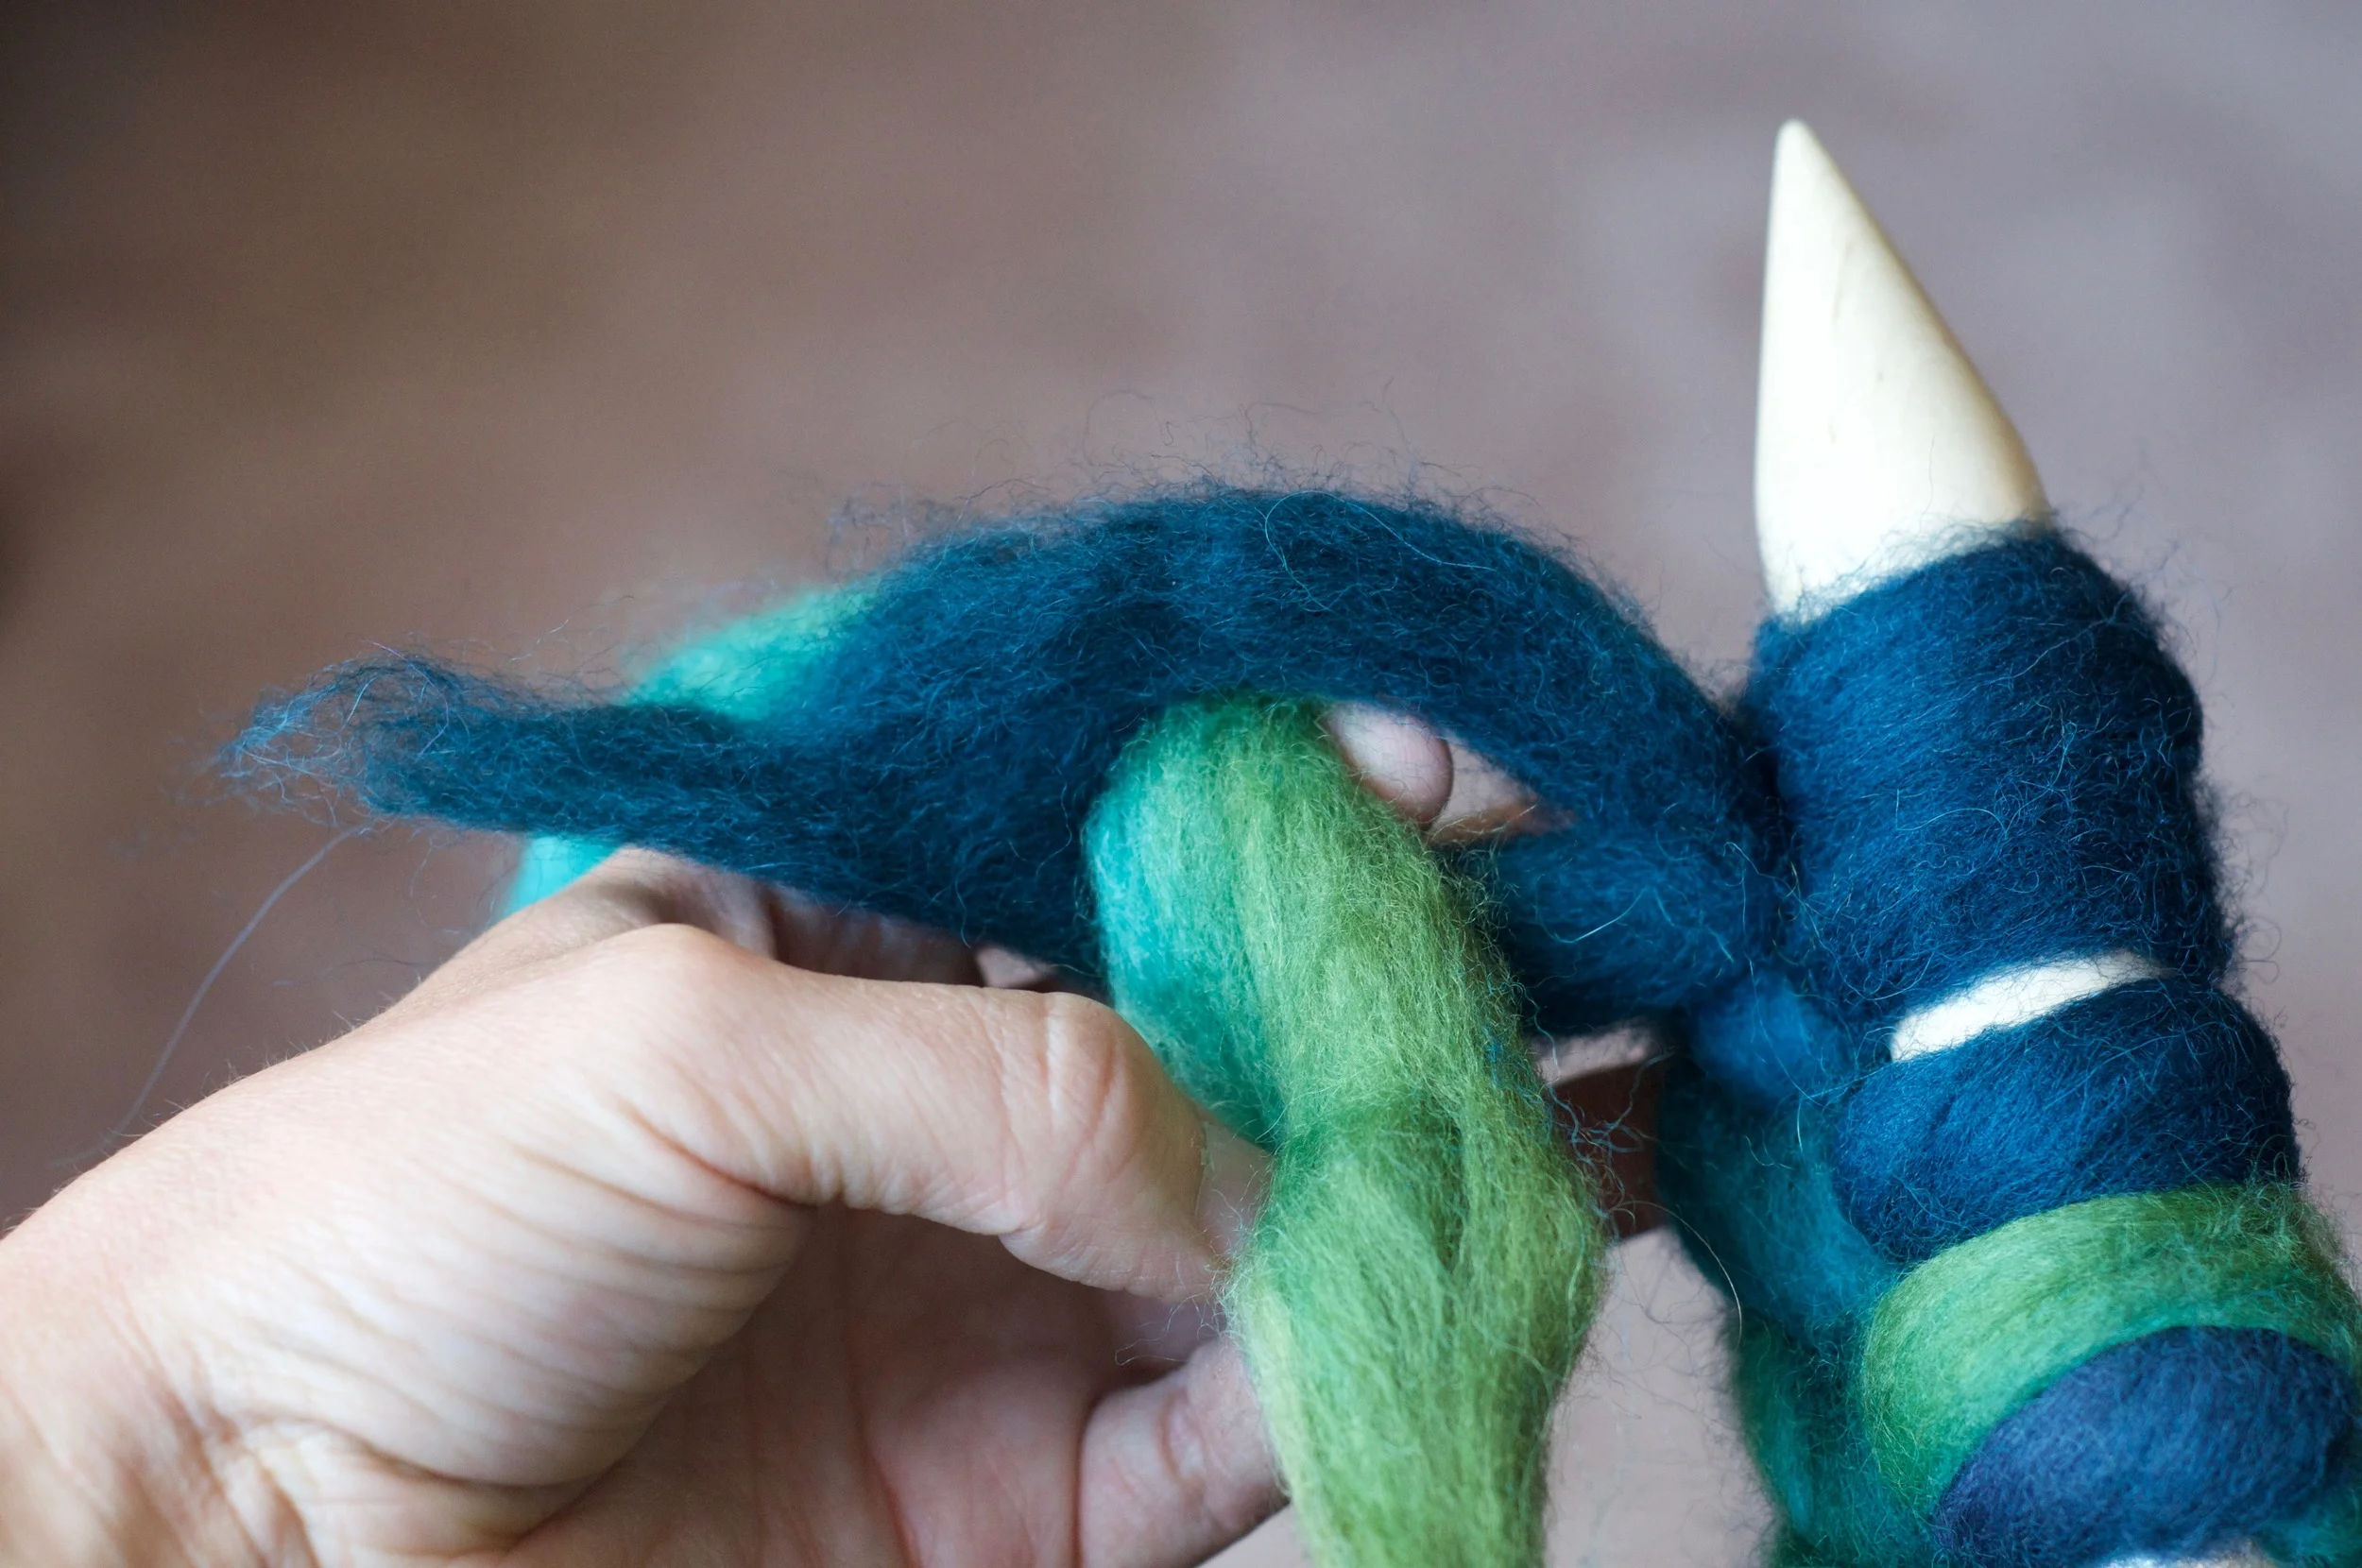
Wrap the front end of the new length of top over...
and back through the hole. Continue to knit according to the pattern.
breaking the fiber:
If you have more than 6 inches of wool top to spare when you reach your final bind off stitch, you will need to break the fiber. Do not cut it! Gently pull the fiber apart by holding a the top with one hand near your needles and the other hand 6-8 inches from your first hand. Then fiber should separate in to wispy strands and then you can yank the unneeded bit off.
weaving in ends:
You will not be using a tapestry needle for this project. With stitches this big, just use your fingers to weave in lose ends in the same manner that you would when finishing up a regular size knitting project. It is important to get this right, because sloppy weaving will be quite visible with a JUMBO project. If you need to brush up on weaving techniques, I highly recommend this article.
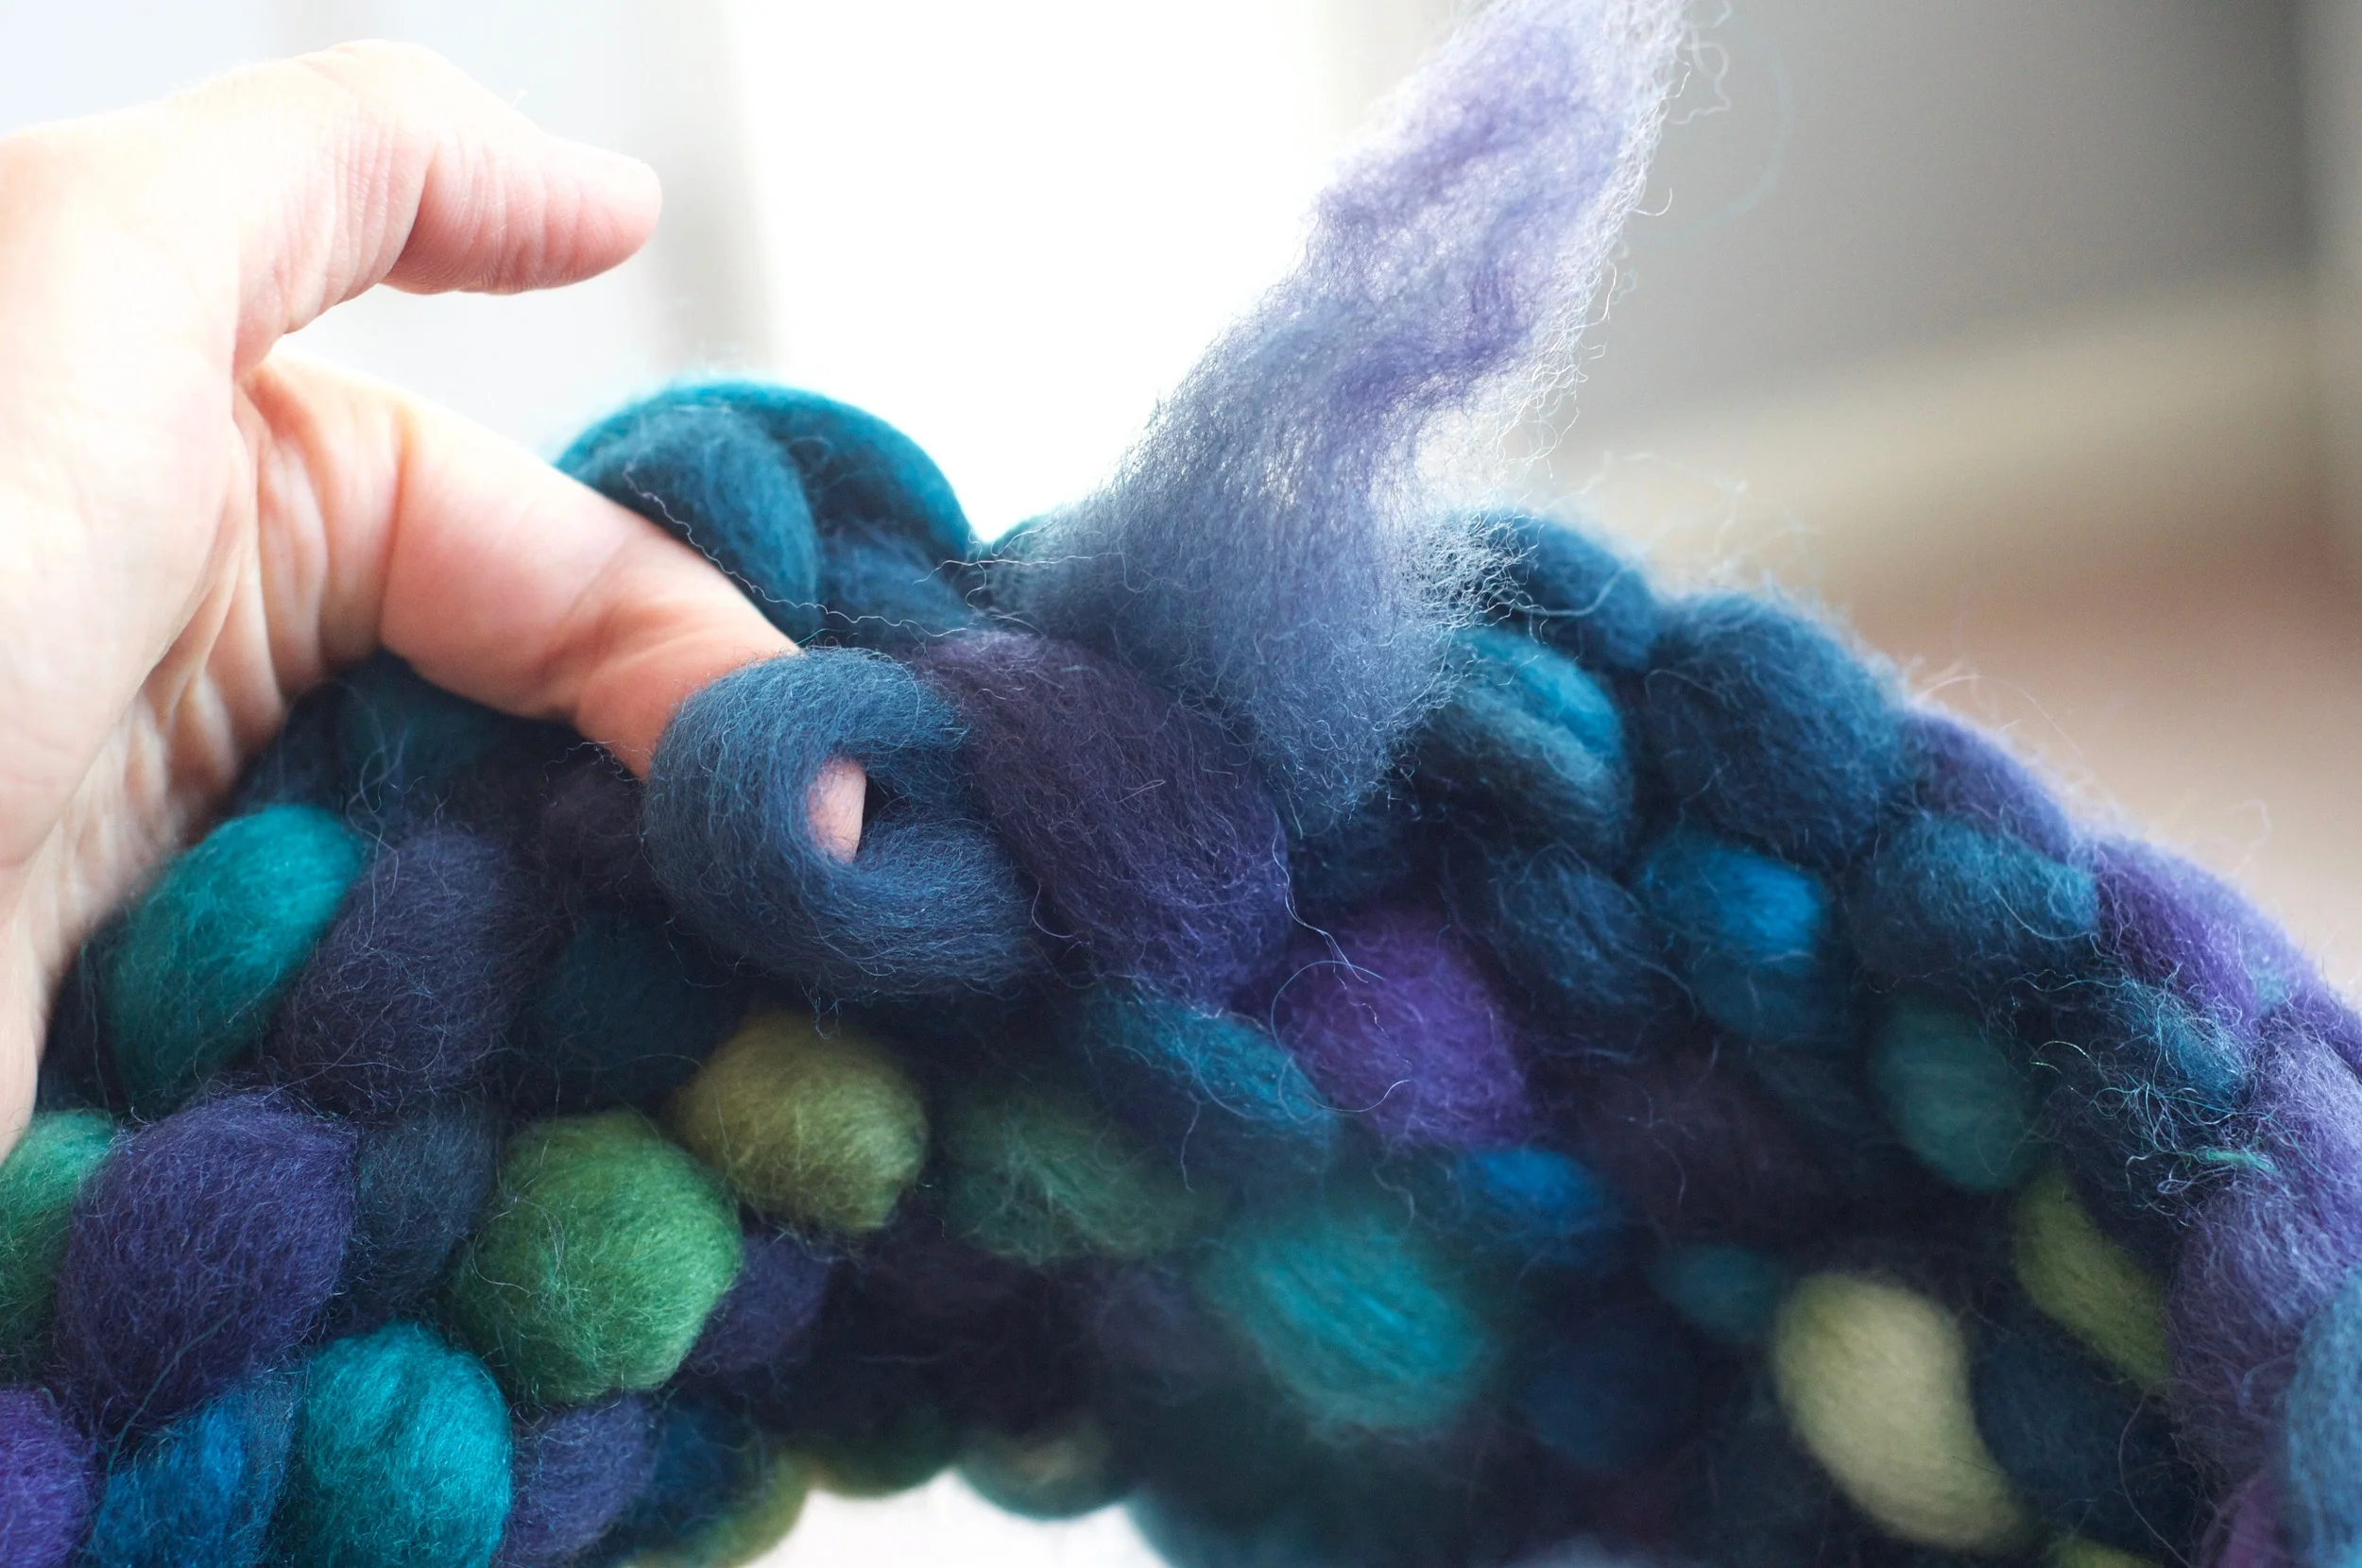
With these exaggerated stitches, you will find that there is a kind of gap or valley created between your last bind off stitch and your first bind off stitch (as shown below).

To correct this problem, weave the yarn tail from your last bind of stitch from front to back into the first stitch of the bind off row. Pull the tail tight, bringing the two stitches closer together and weave the tail into the wrong side of your work as normal.
color choices:
I used two different multicolored, hand-painted wool tops. I chose to alternate my two wool top colors. When I finished knitting one length of “cavern,” I picked up a new length of “midnight tweed” and then “cavern” again. I think this helped to give my cowl some extra dimension.
blocking:
To get your cowl into the right shape, just use your hands. Stretch and tug gently. The stitches are pretty easy to maneuver. Please keep in mind that with this much fiber and very little twist in your JUMBO yarn, your cowl will felt EASILY! If you want it to felt, that is great. Here is a great article on felting. If not, try not to get your cowl wet.